
 Follow
As a child, I had always dreamt of going to space. Reading about the space race, the Apollo and Soyuz missions, the International Space Station and finally Rakesh Kumar going to space, I was always of dreaming of reaching space one day. The main way I kept myself dreaming about space was by watching movies (Apolllo 13, October Sky etc) and reading books (Rocket Boys).
And of course, life happens while you are dreaming. Then suddenly I graduated from college, got a job, got married and fast forward couple of decades and I was still looking back at my dream. Thankfully, there were still a couple of ways to achieve this dream.
One way was when the Raspberry pi came out, it was billed as a platform for kids to learn programing. But it was also a way for makers to see what they can do with it. While I was reading about interesting things to do with my Raspberry Pi, I came across Dave Akerman and his exploits in high altitude balloons which reach space and have Raspberry Pi as the onboard computer. As I read more about this project, I realized that this was my space dream and so much more. Imagine building your own transmitter and receiver, your own on board computer and launch vehicle? I wanted to do it immediately! But it took me a while (almost 18 months) working on this as my main hobby.
Here is a quick post on how I did it. I hope to augment this post with the details in the days to follow. In this post, I will cover what the payload consisted of and some pictures from space.
Electronics:
The heart was a Raspberry A+. Chose A+ since it uses power sparingly. It was running the Raspbian distro but I removed all the add-ons which come pre-installed but not needed for my project. Most of the scripts were built with Python.
Sensors:
Temperature Sensor DS18B20
Pressure Sensor BMP085
Accelerometer (BerryIMU was one nice package that had all of the above + gyroscope)
Cameras:
Raspberry Pi camera: to capture still images every 30 seconds (though I used the V1 of the camera).
Xiaomi Yi: to record video of the entire flight. This had issues which I will cover in a later post.
Power:
Two Battery Packs of 2300 mAH (chosen since they did not come with an on/off switch). I needed a battery pack which did not have a power switch since the Raspberry pi and the peripherals needed to be powered constantly during the flight even if they rebooted. This was a good choice since the process did get rebooted at least twice due to couple of issues.
GPS: uBlox Max 8Q
Transmitter: NTX2
Software:
Python scripts measured and logged the following parameters: Temperature, Pressure, 3 dimensional acceleration from the gyroscope and also take pictures using the Raspberry pi camera module.
Python scripts also transmitted the location on 434.6 MHz frequency and talked to the GPS to get the location coordinates.
Payload:
Made from extruded polystyrene. I followed the instructions from the UKHAS wiki. Here is how it looked like after we built it. It is sitting in our balcony for testing the transmission.

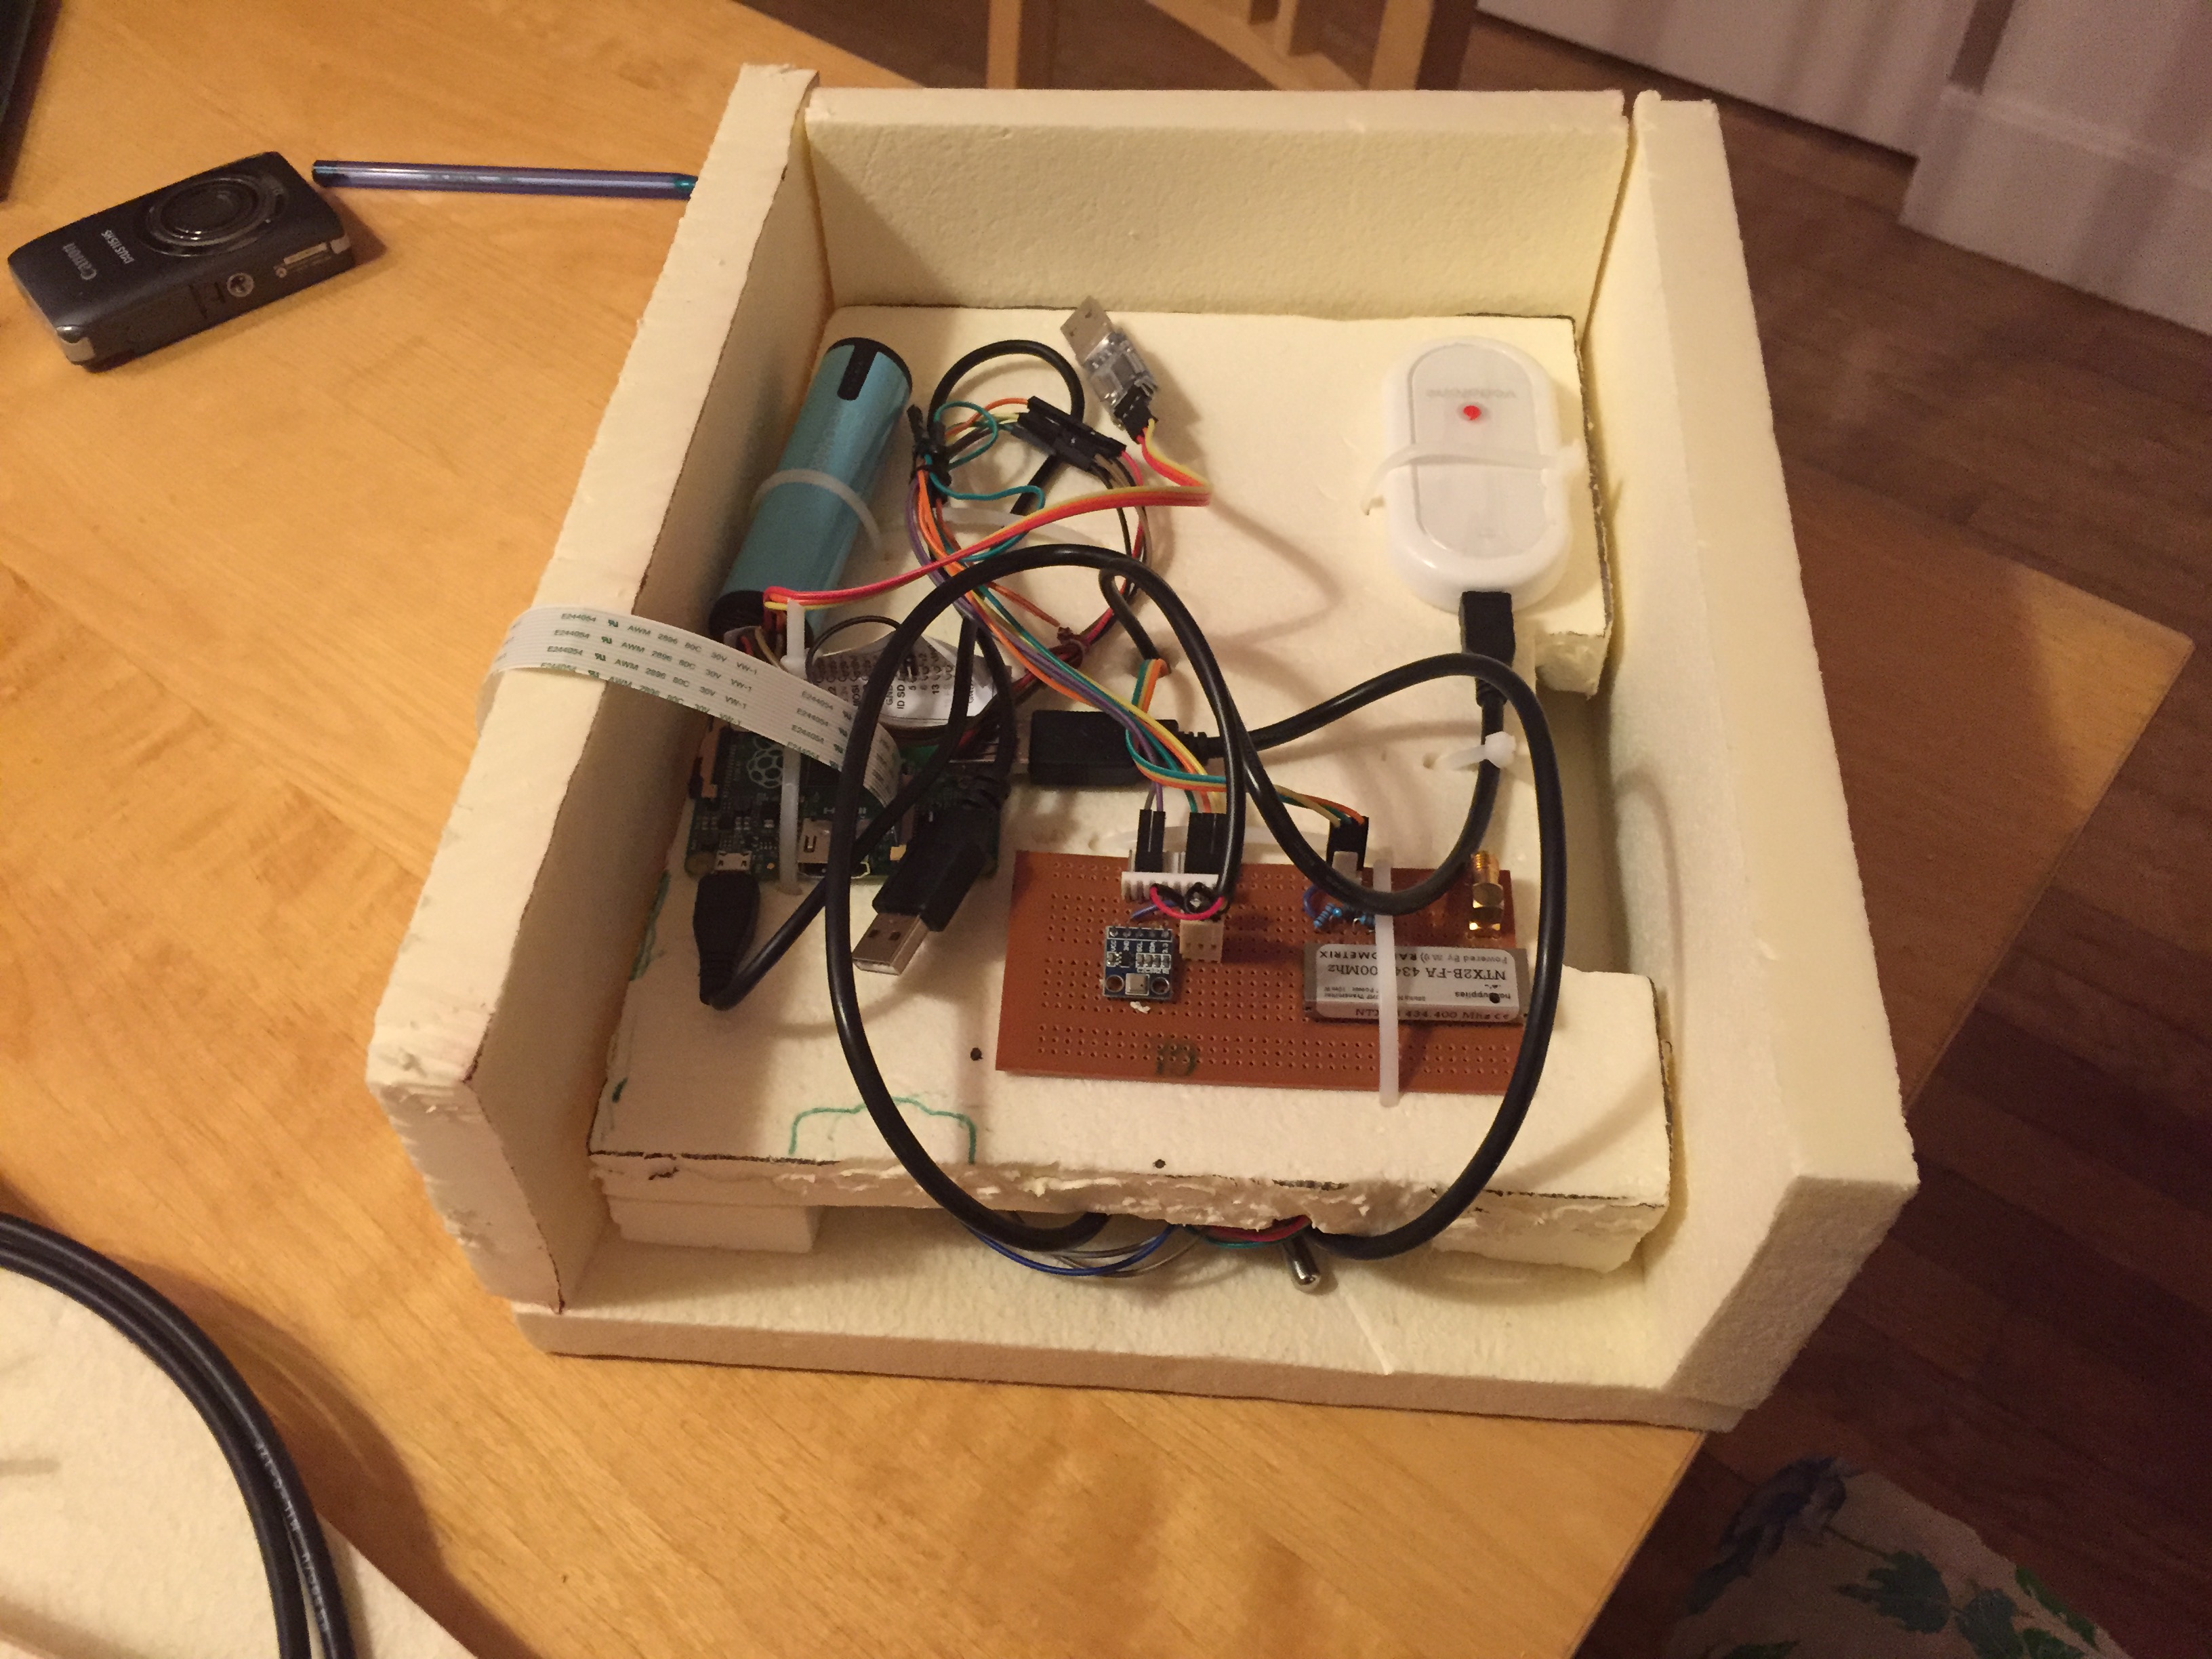
The guts of the payload looked like this:
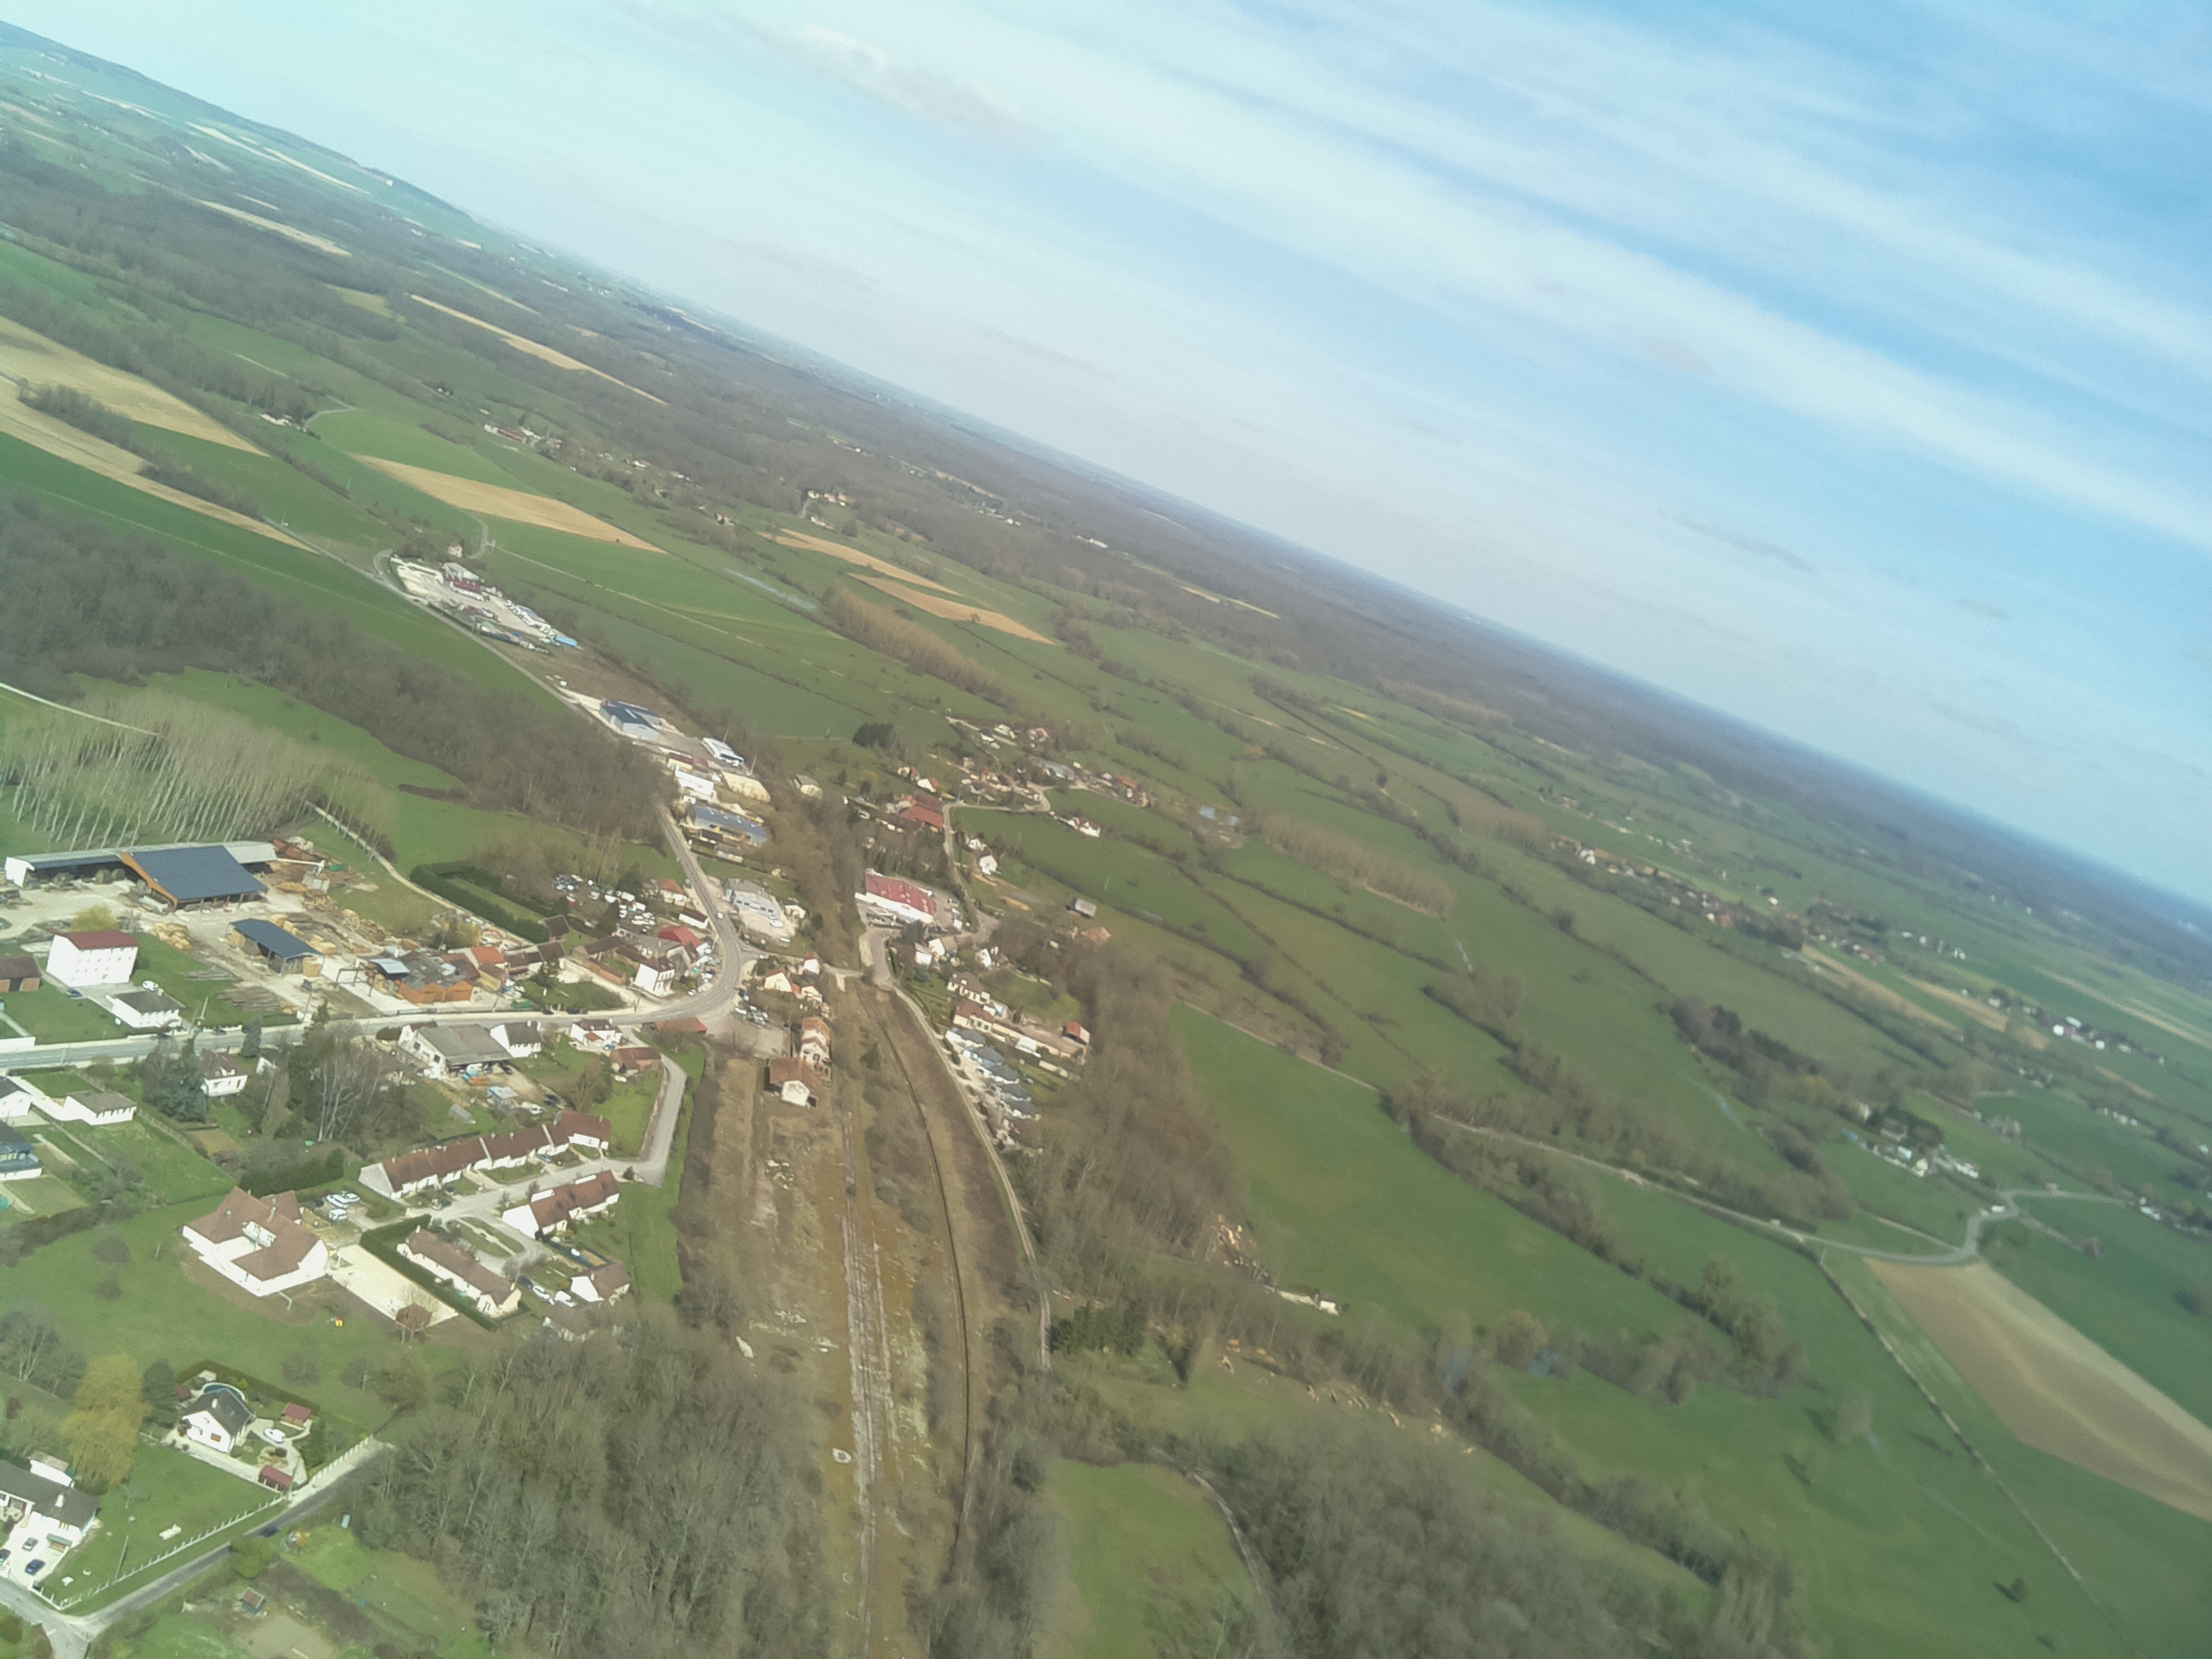
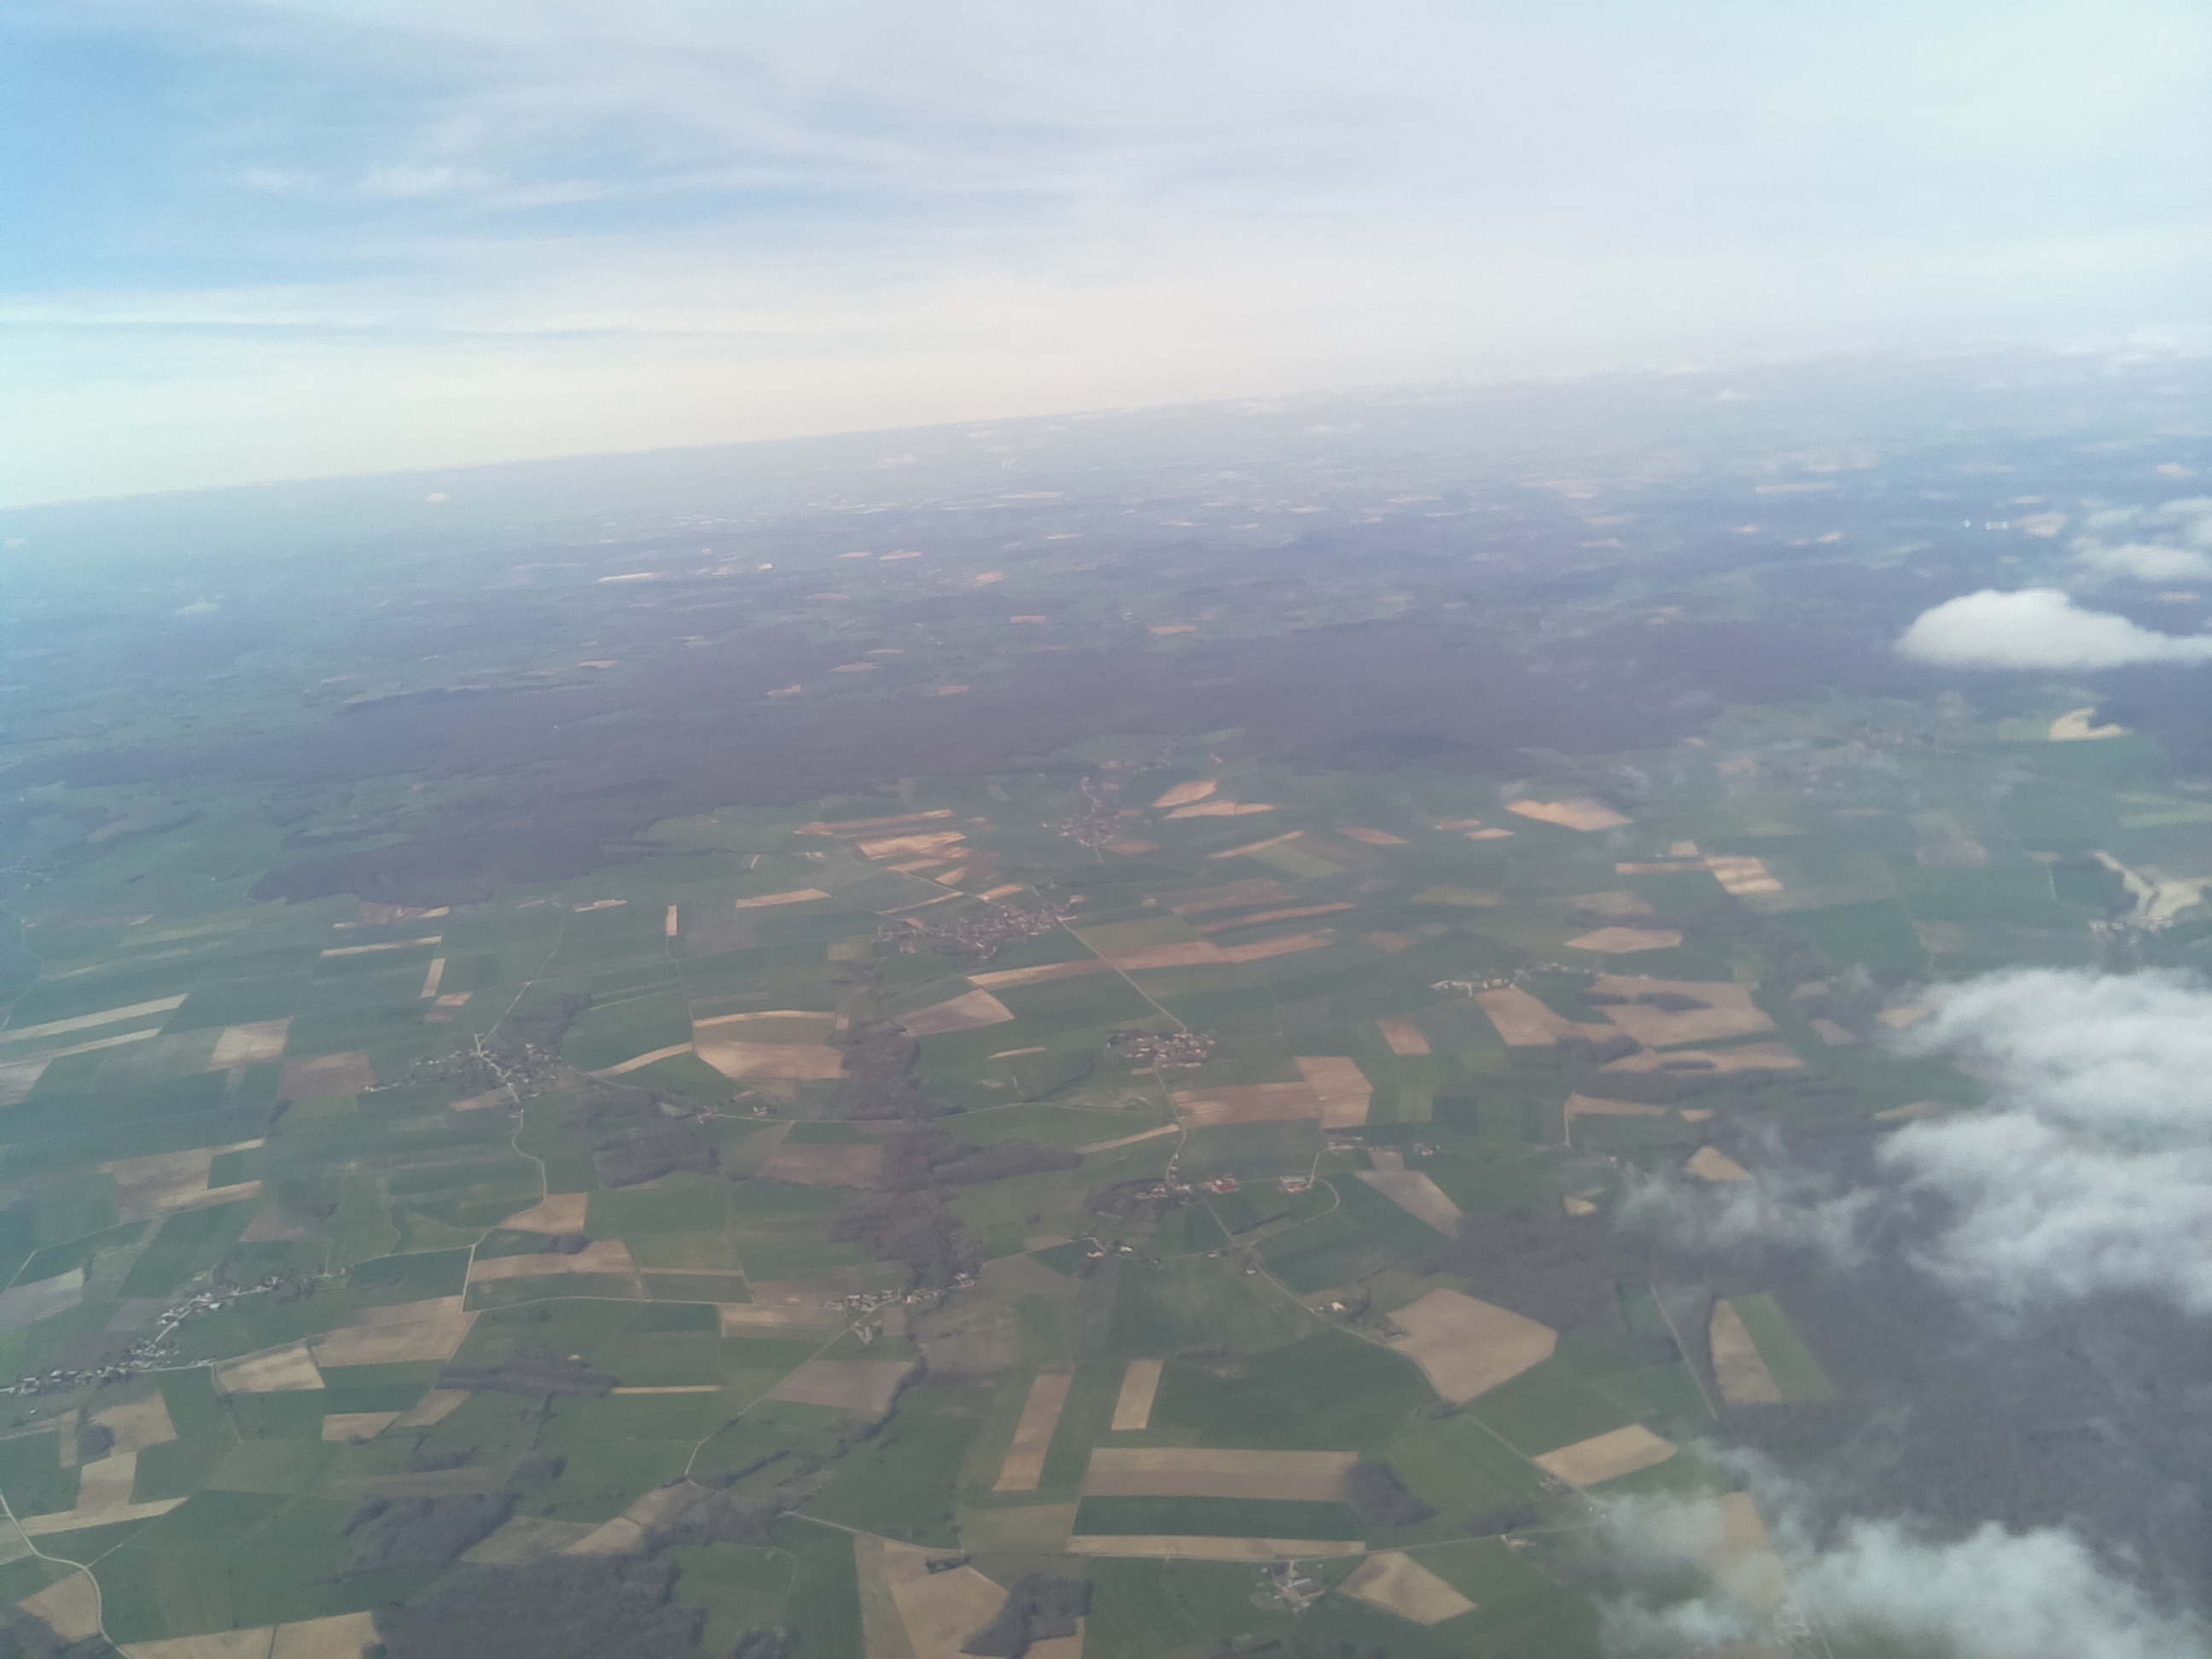
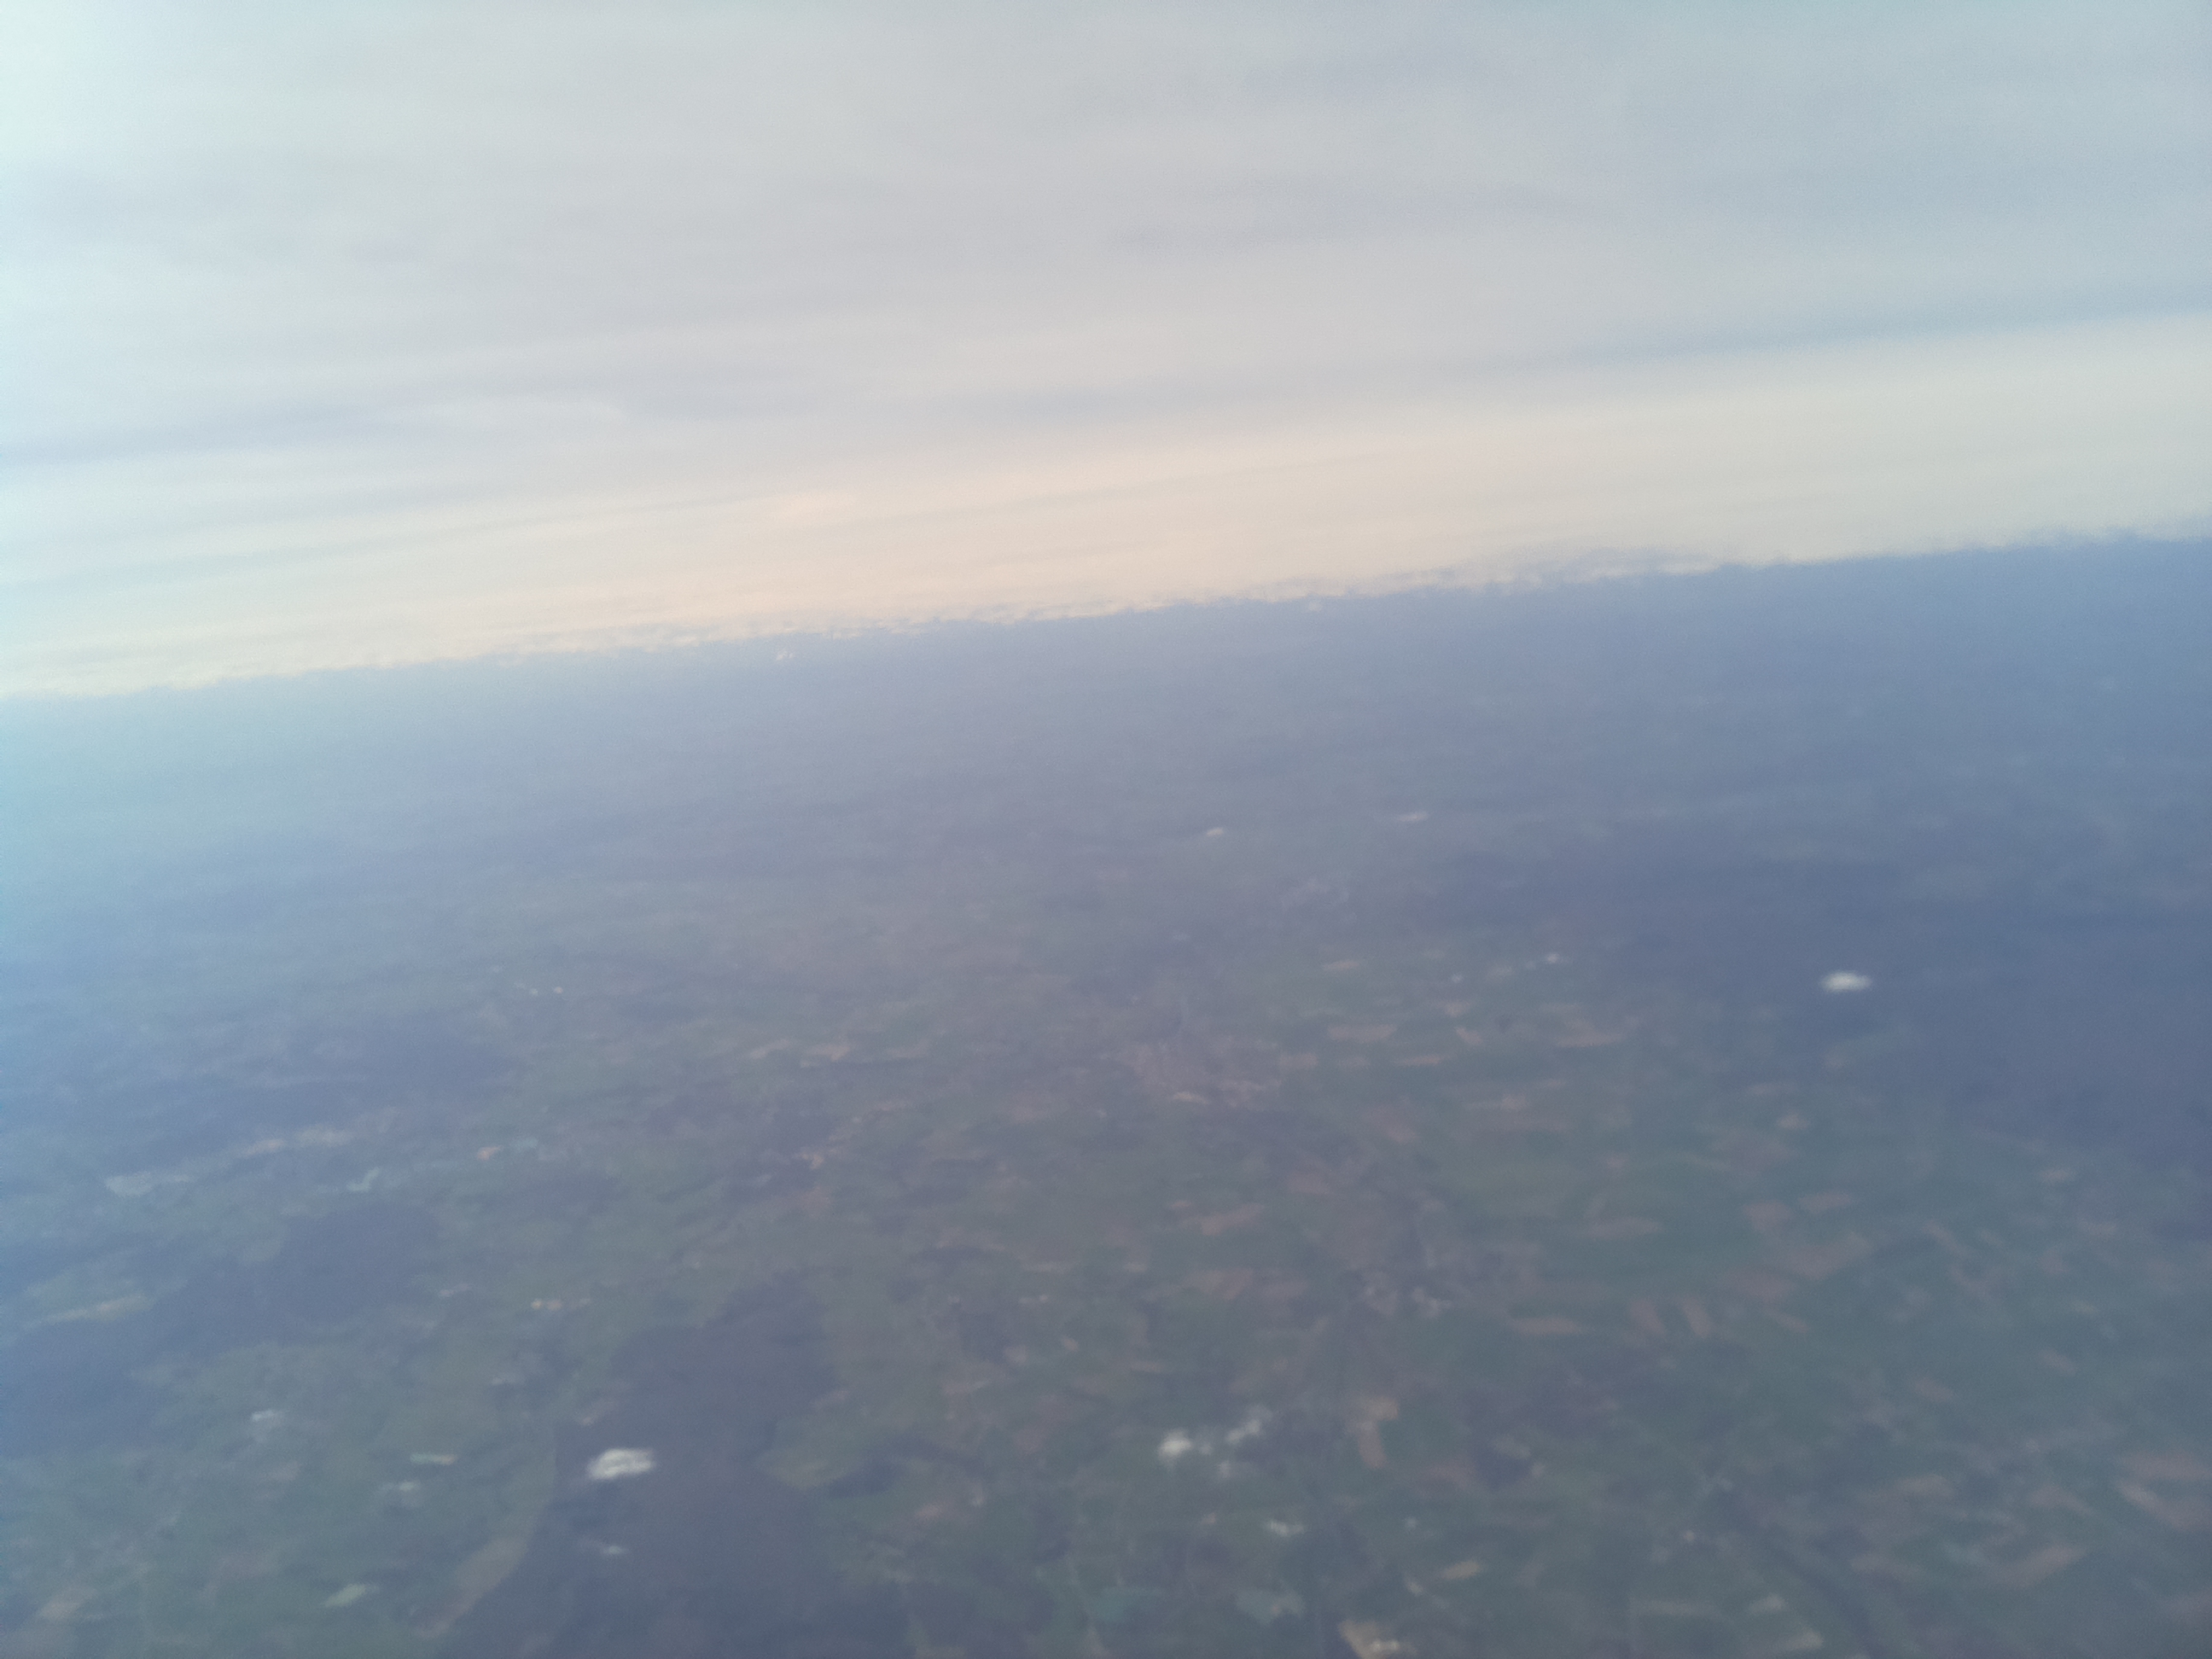
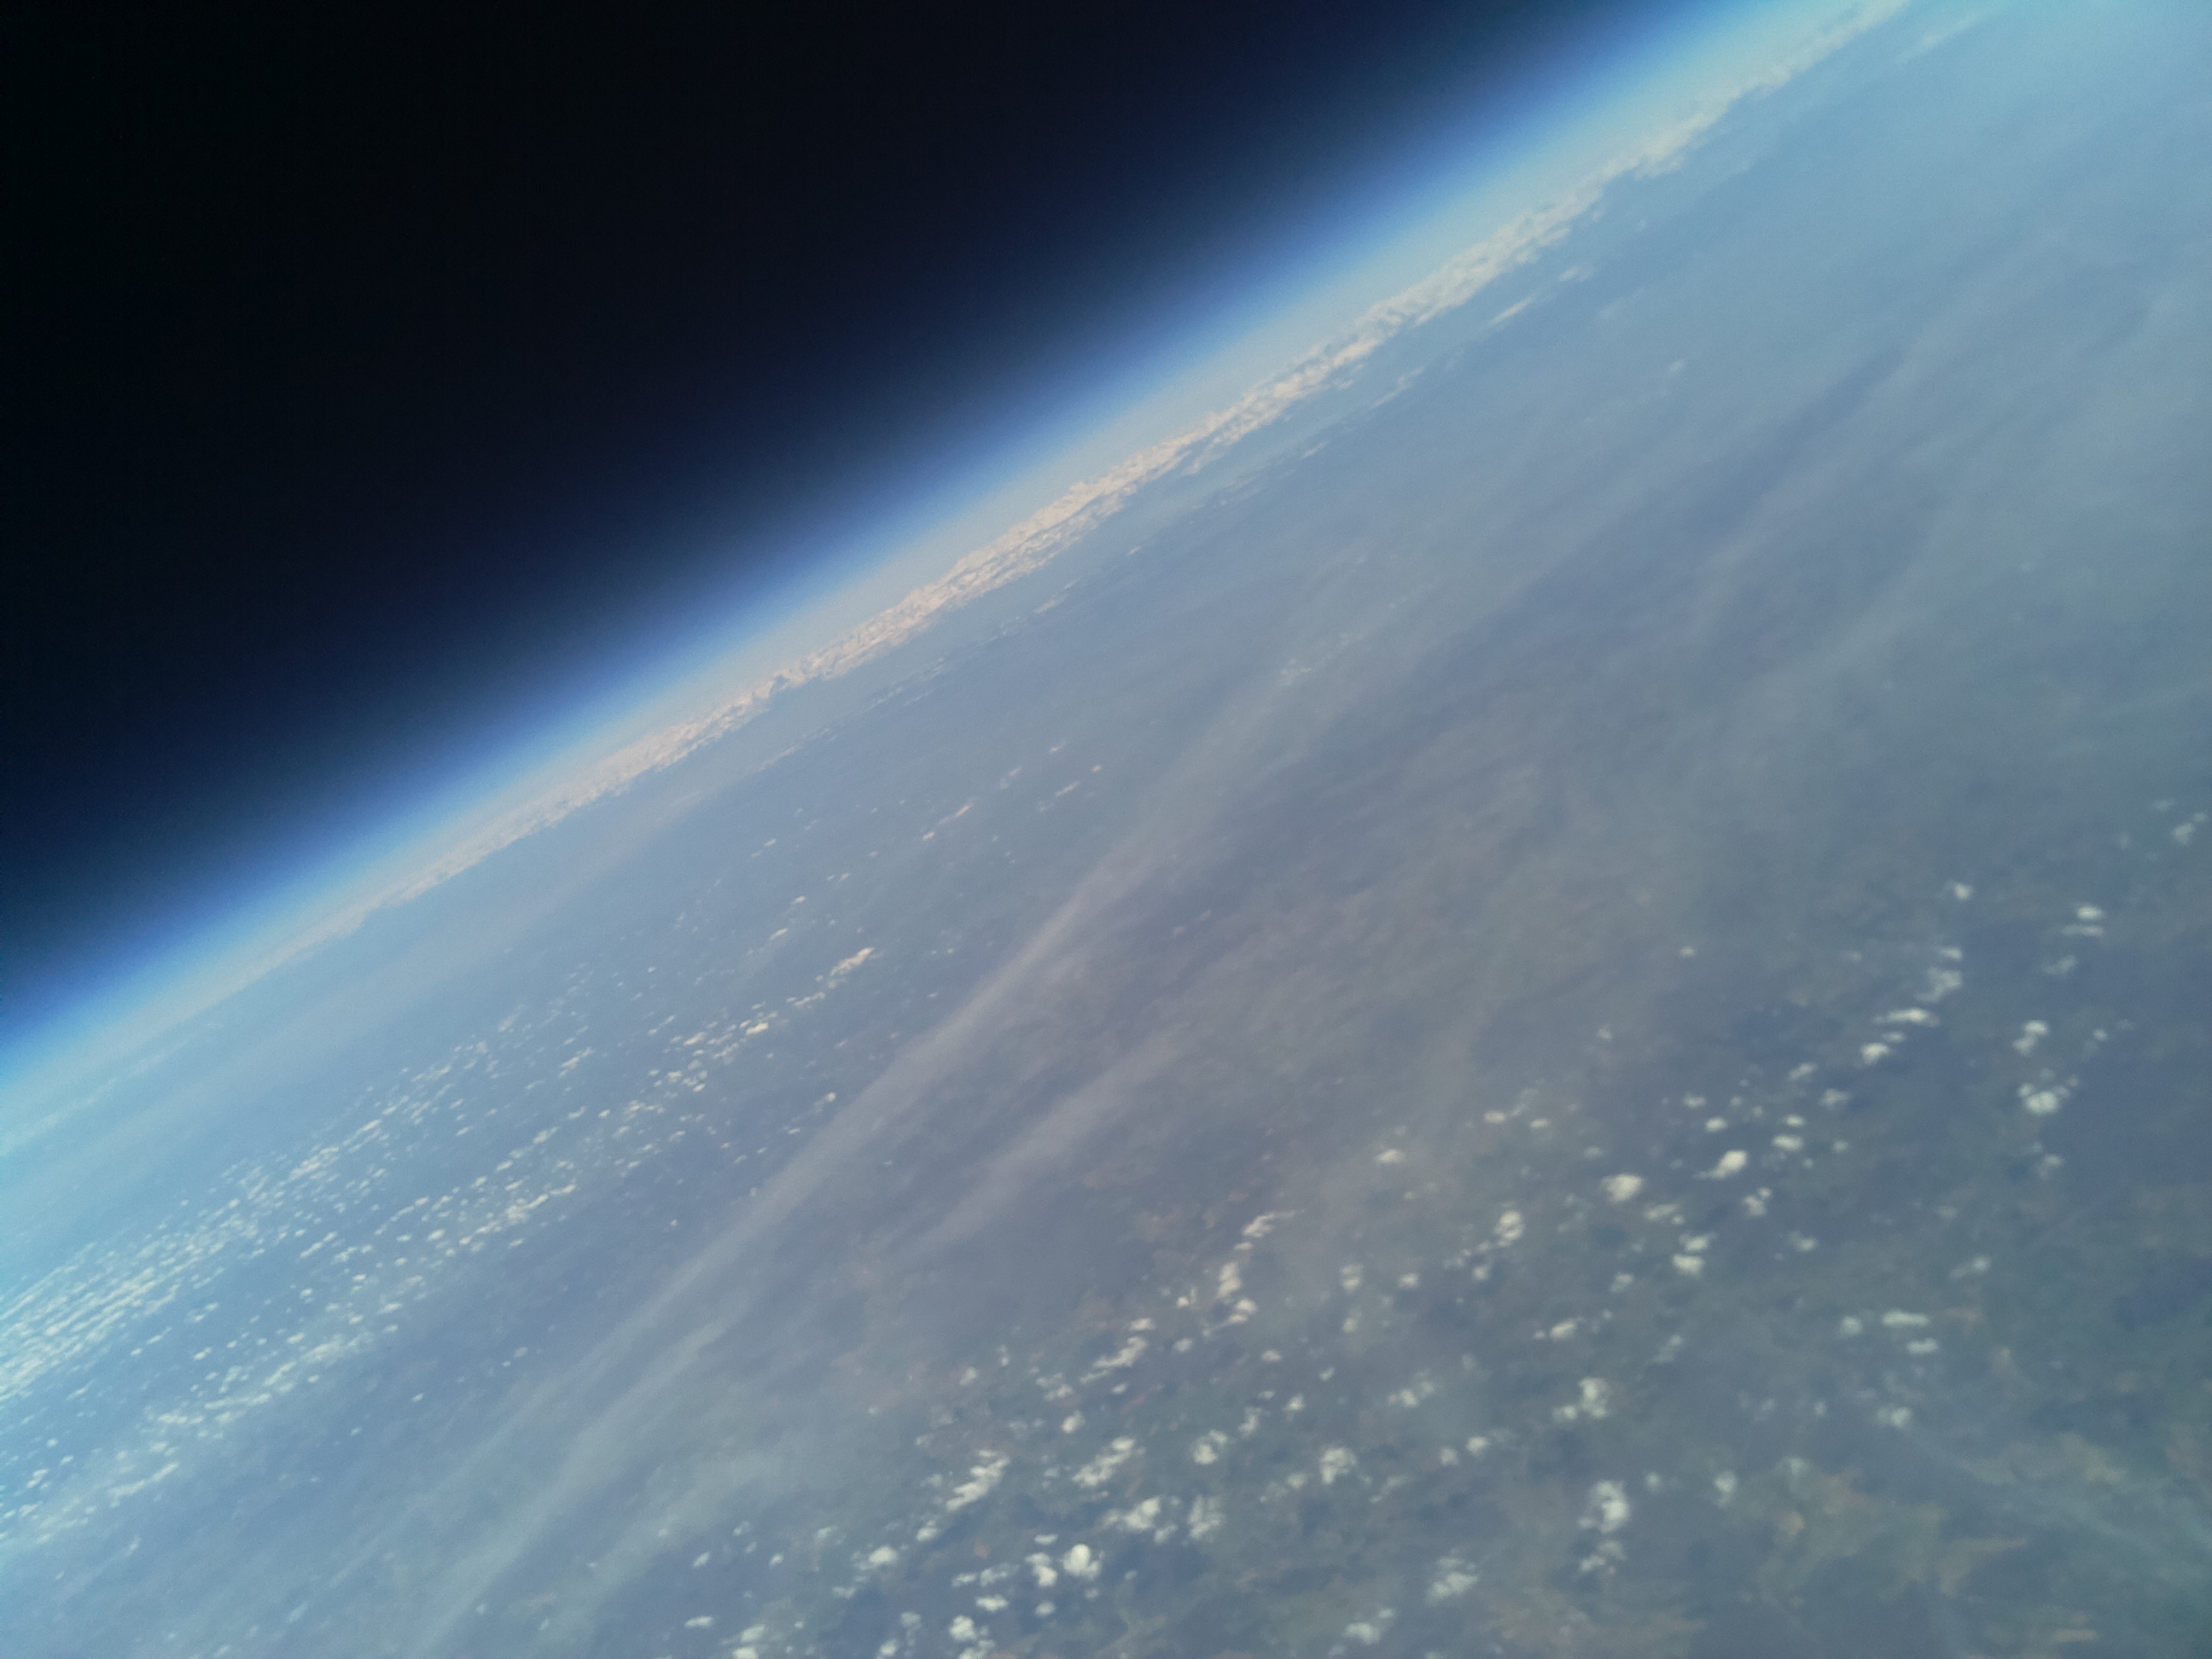
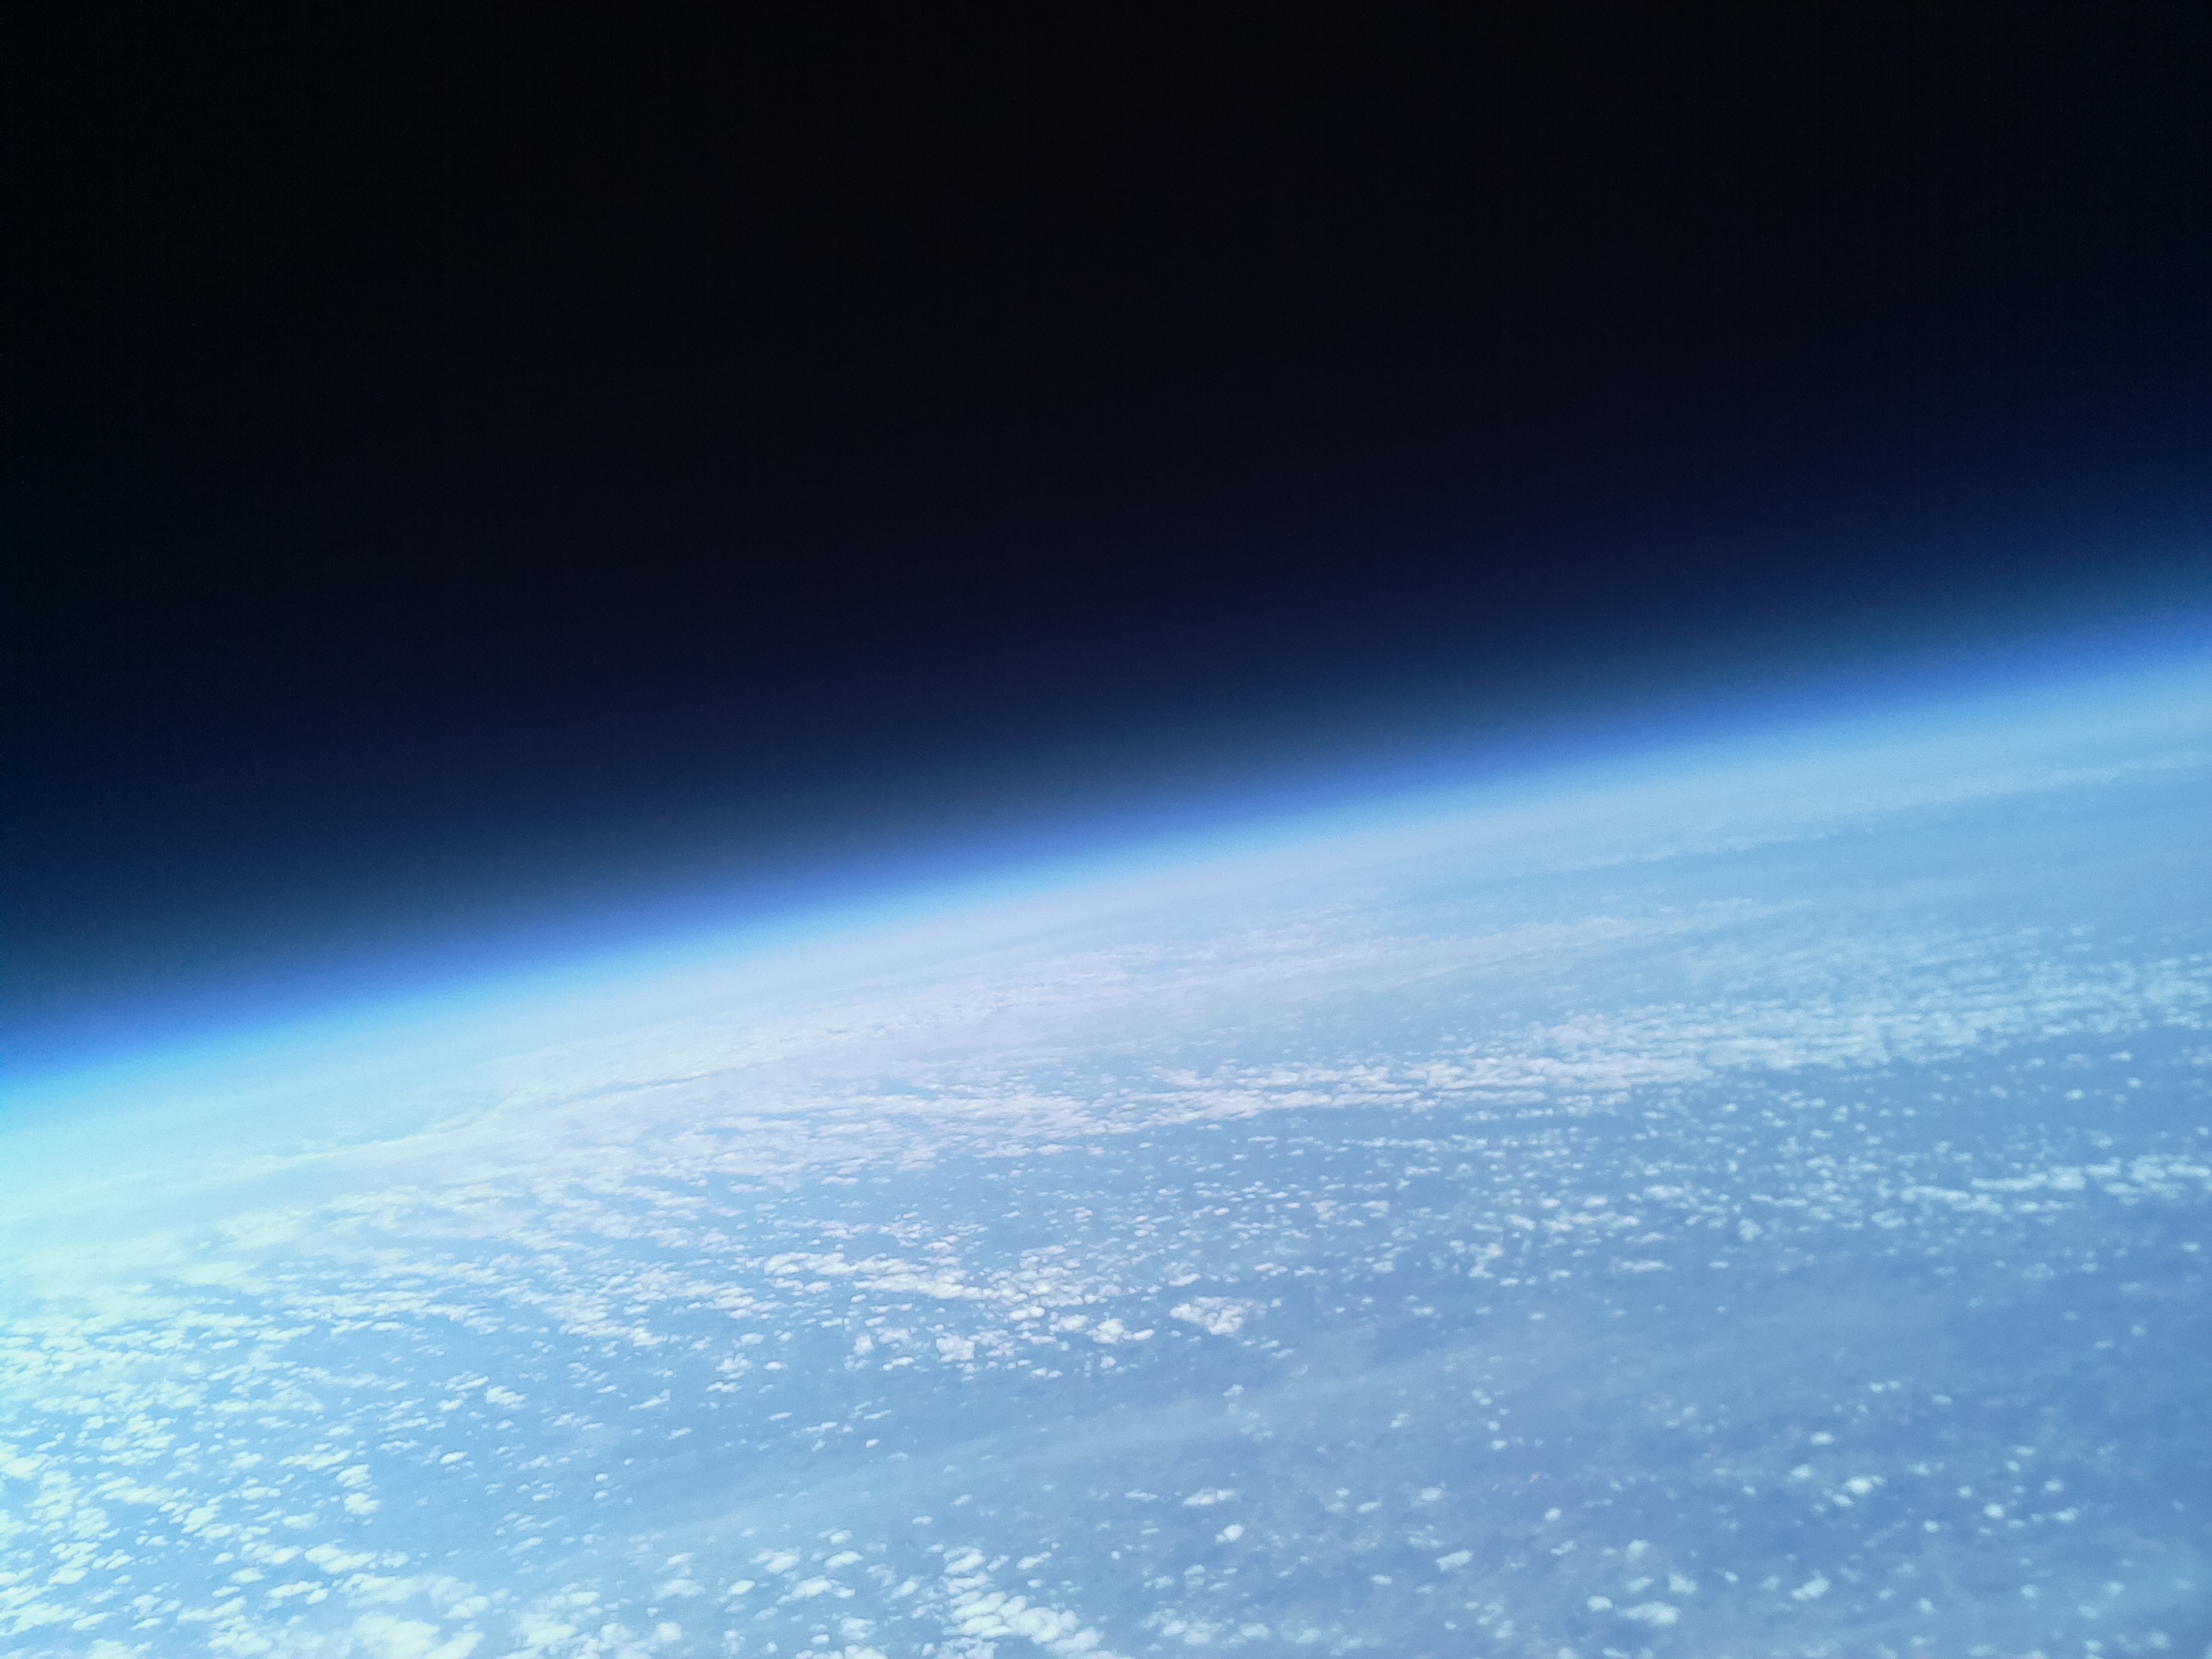
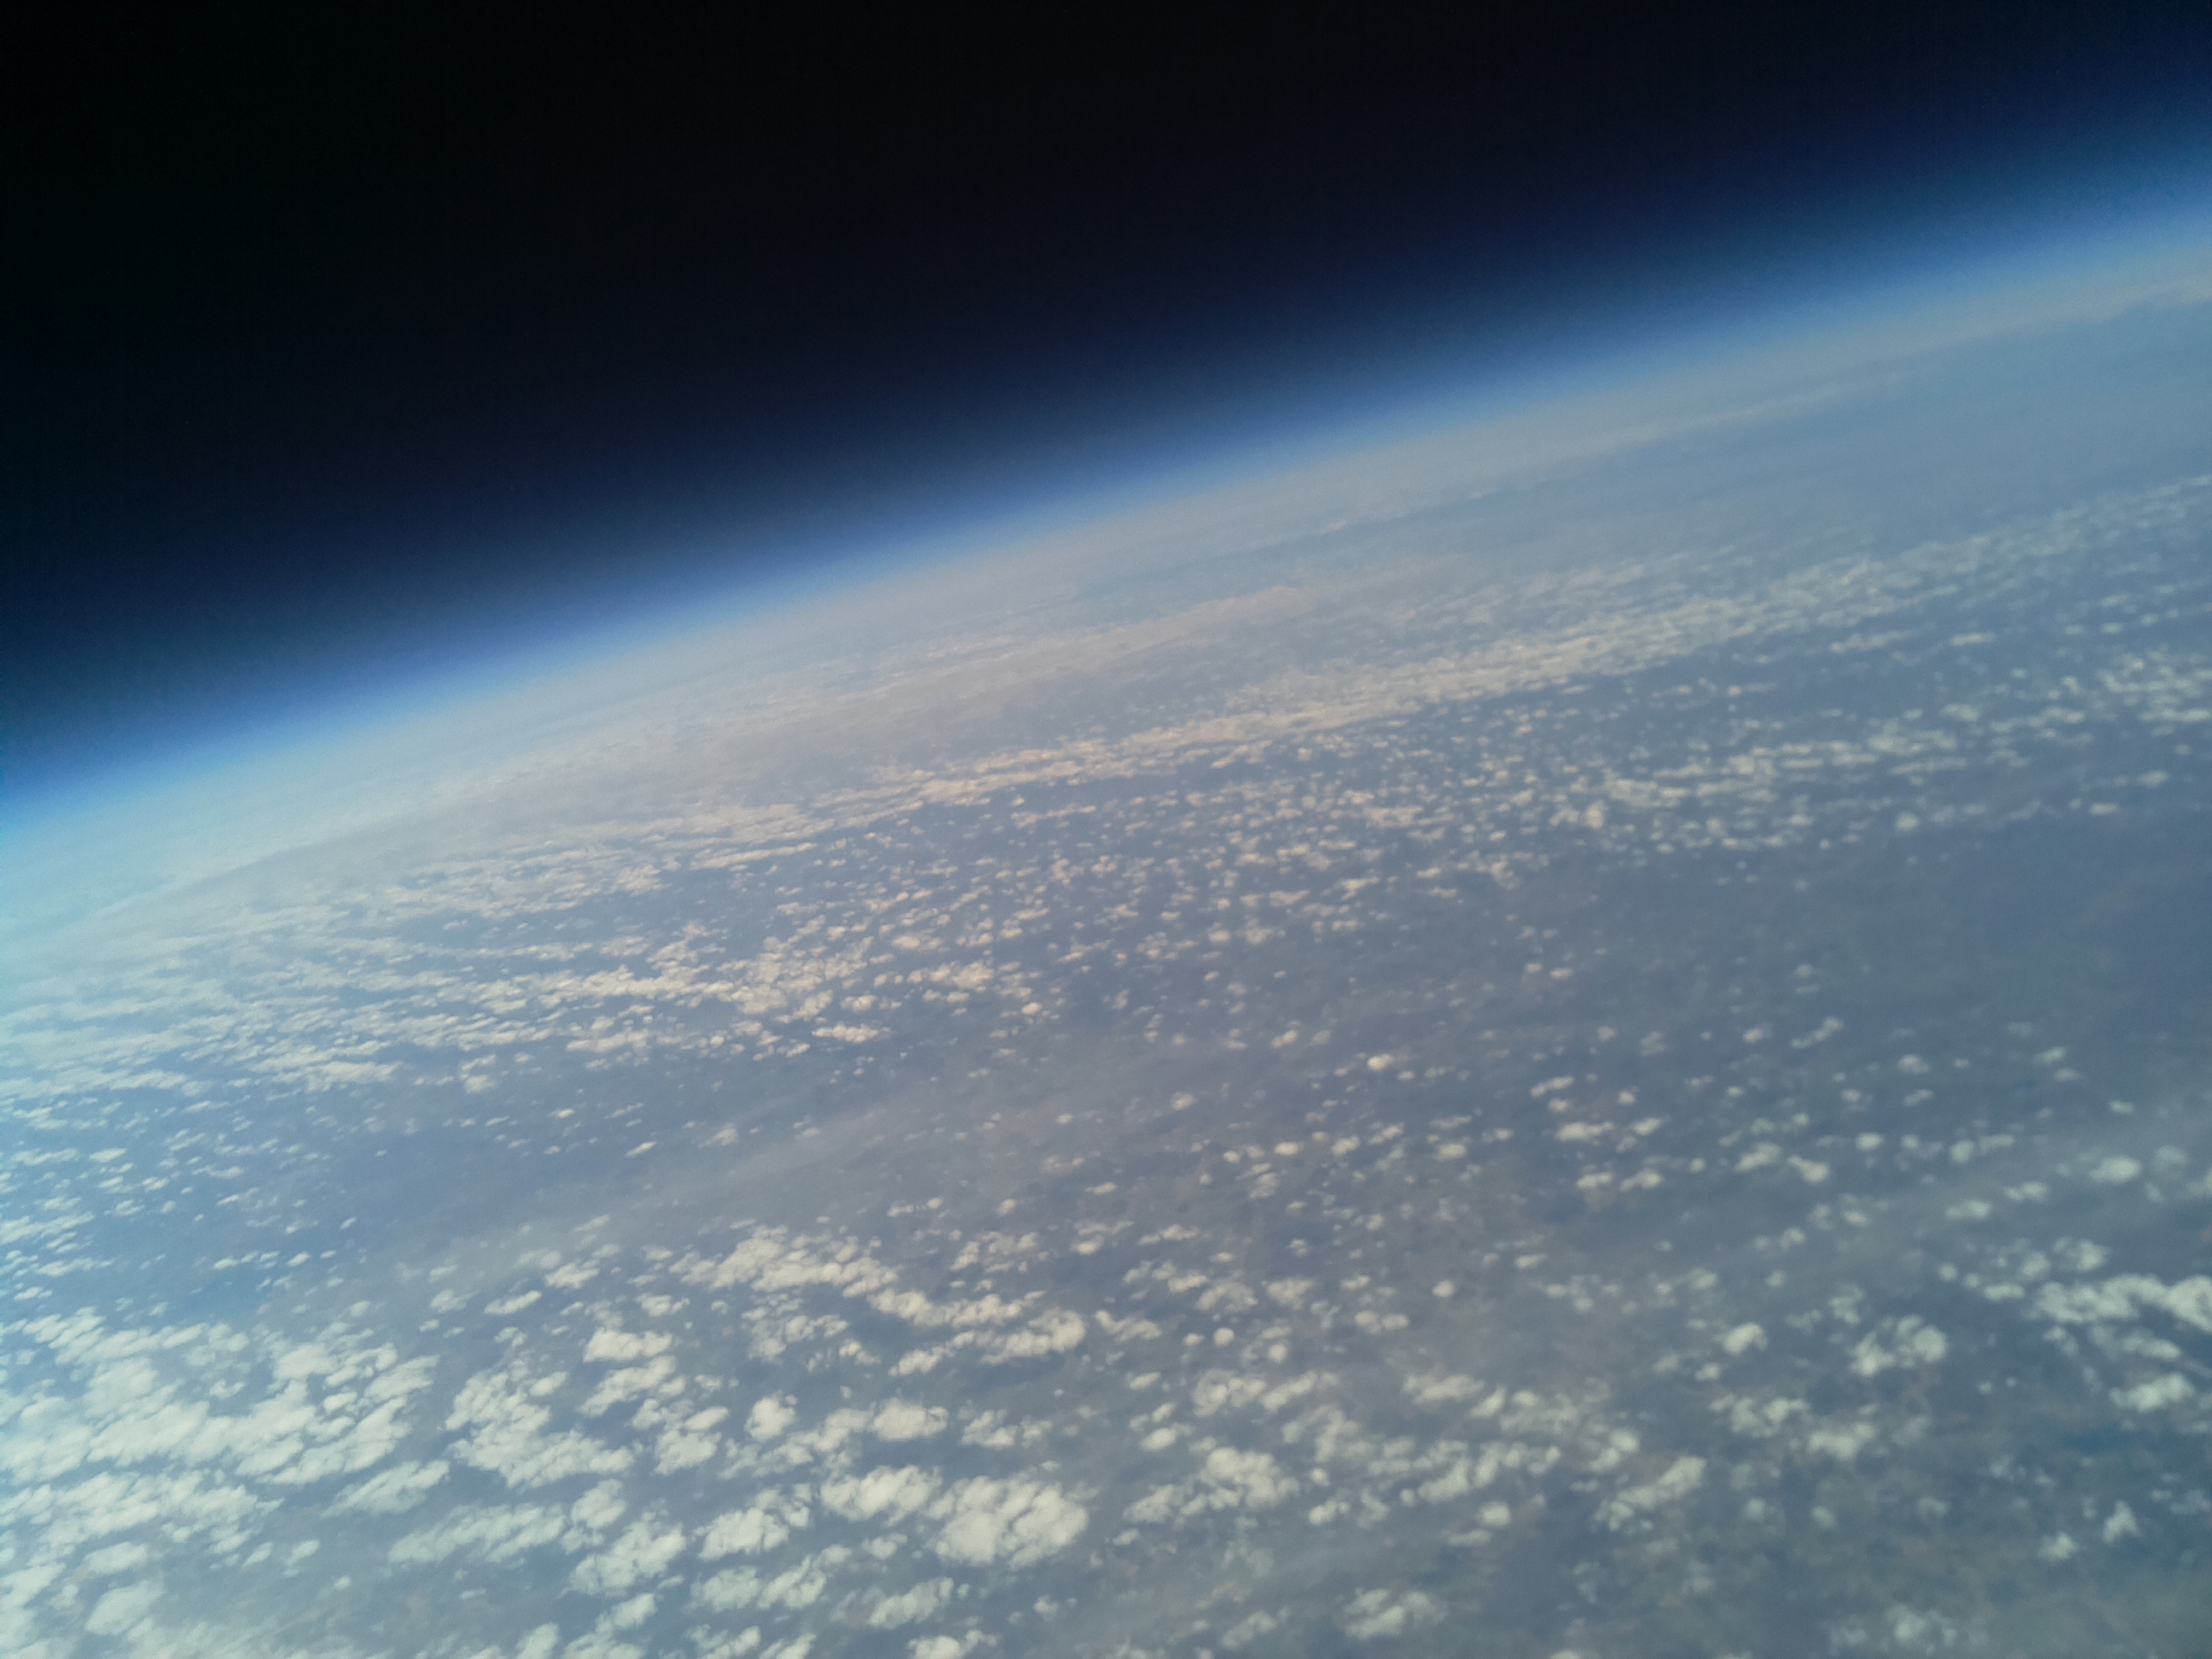
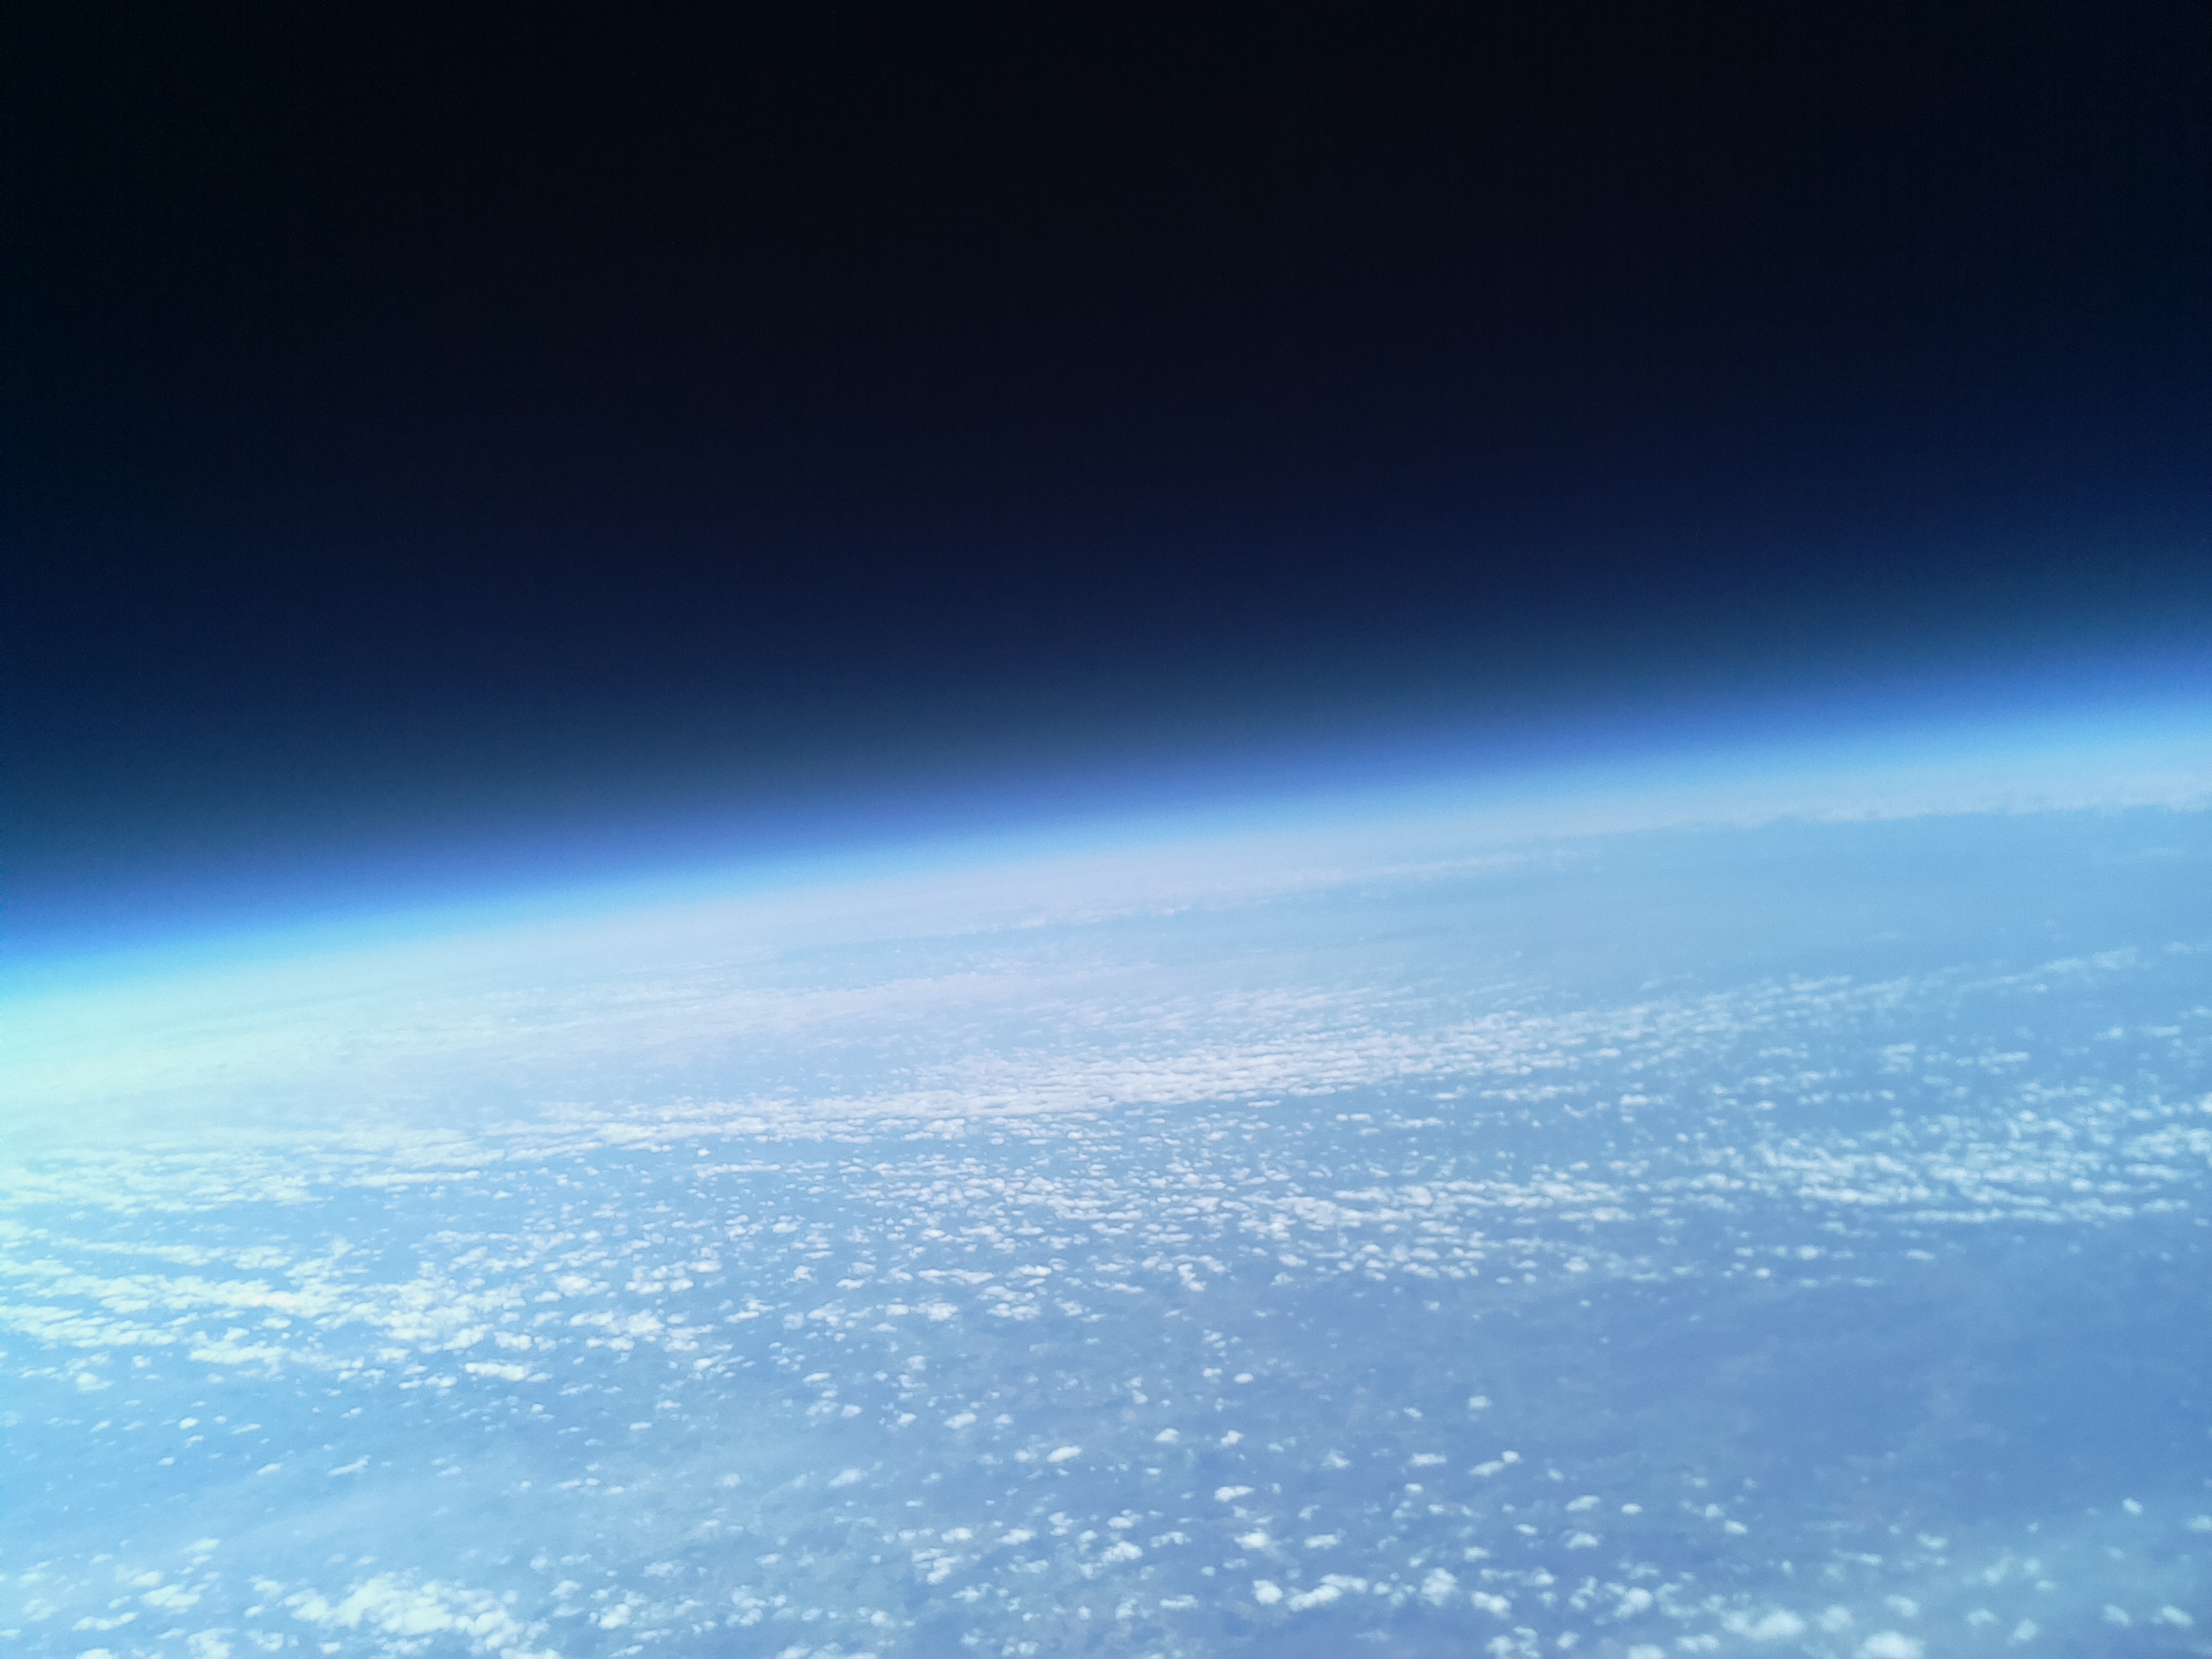
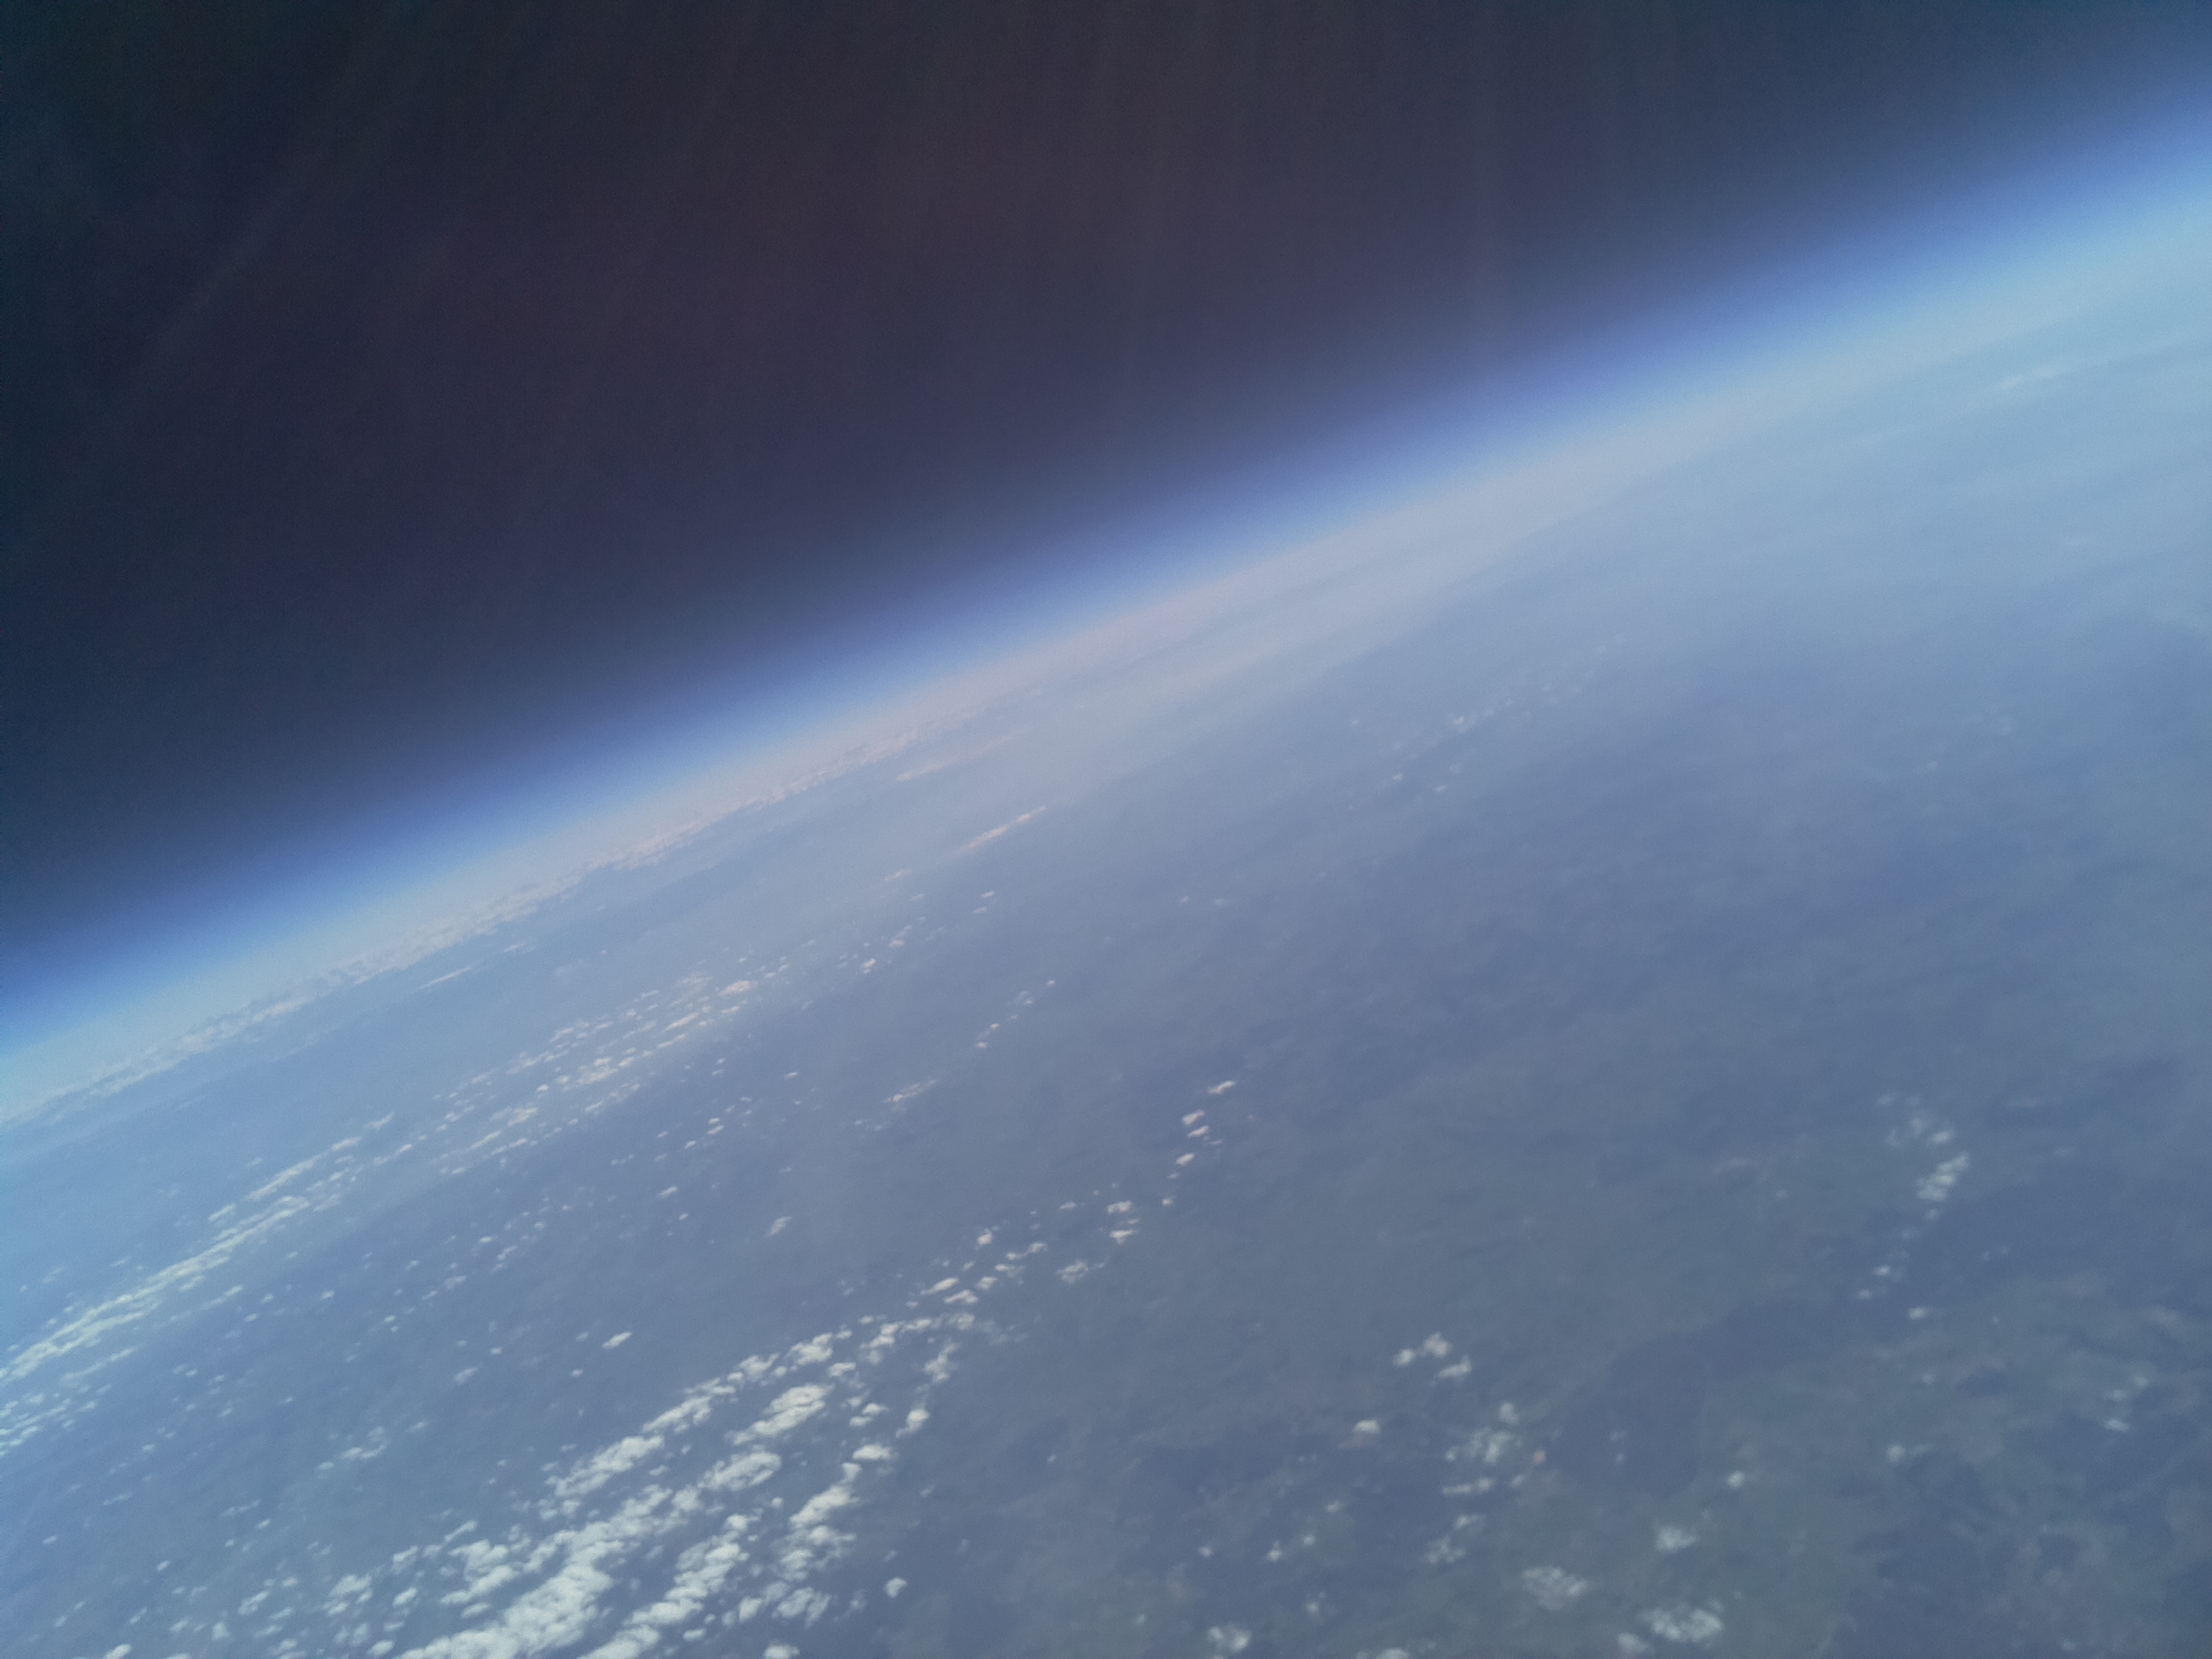
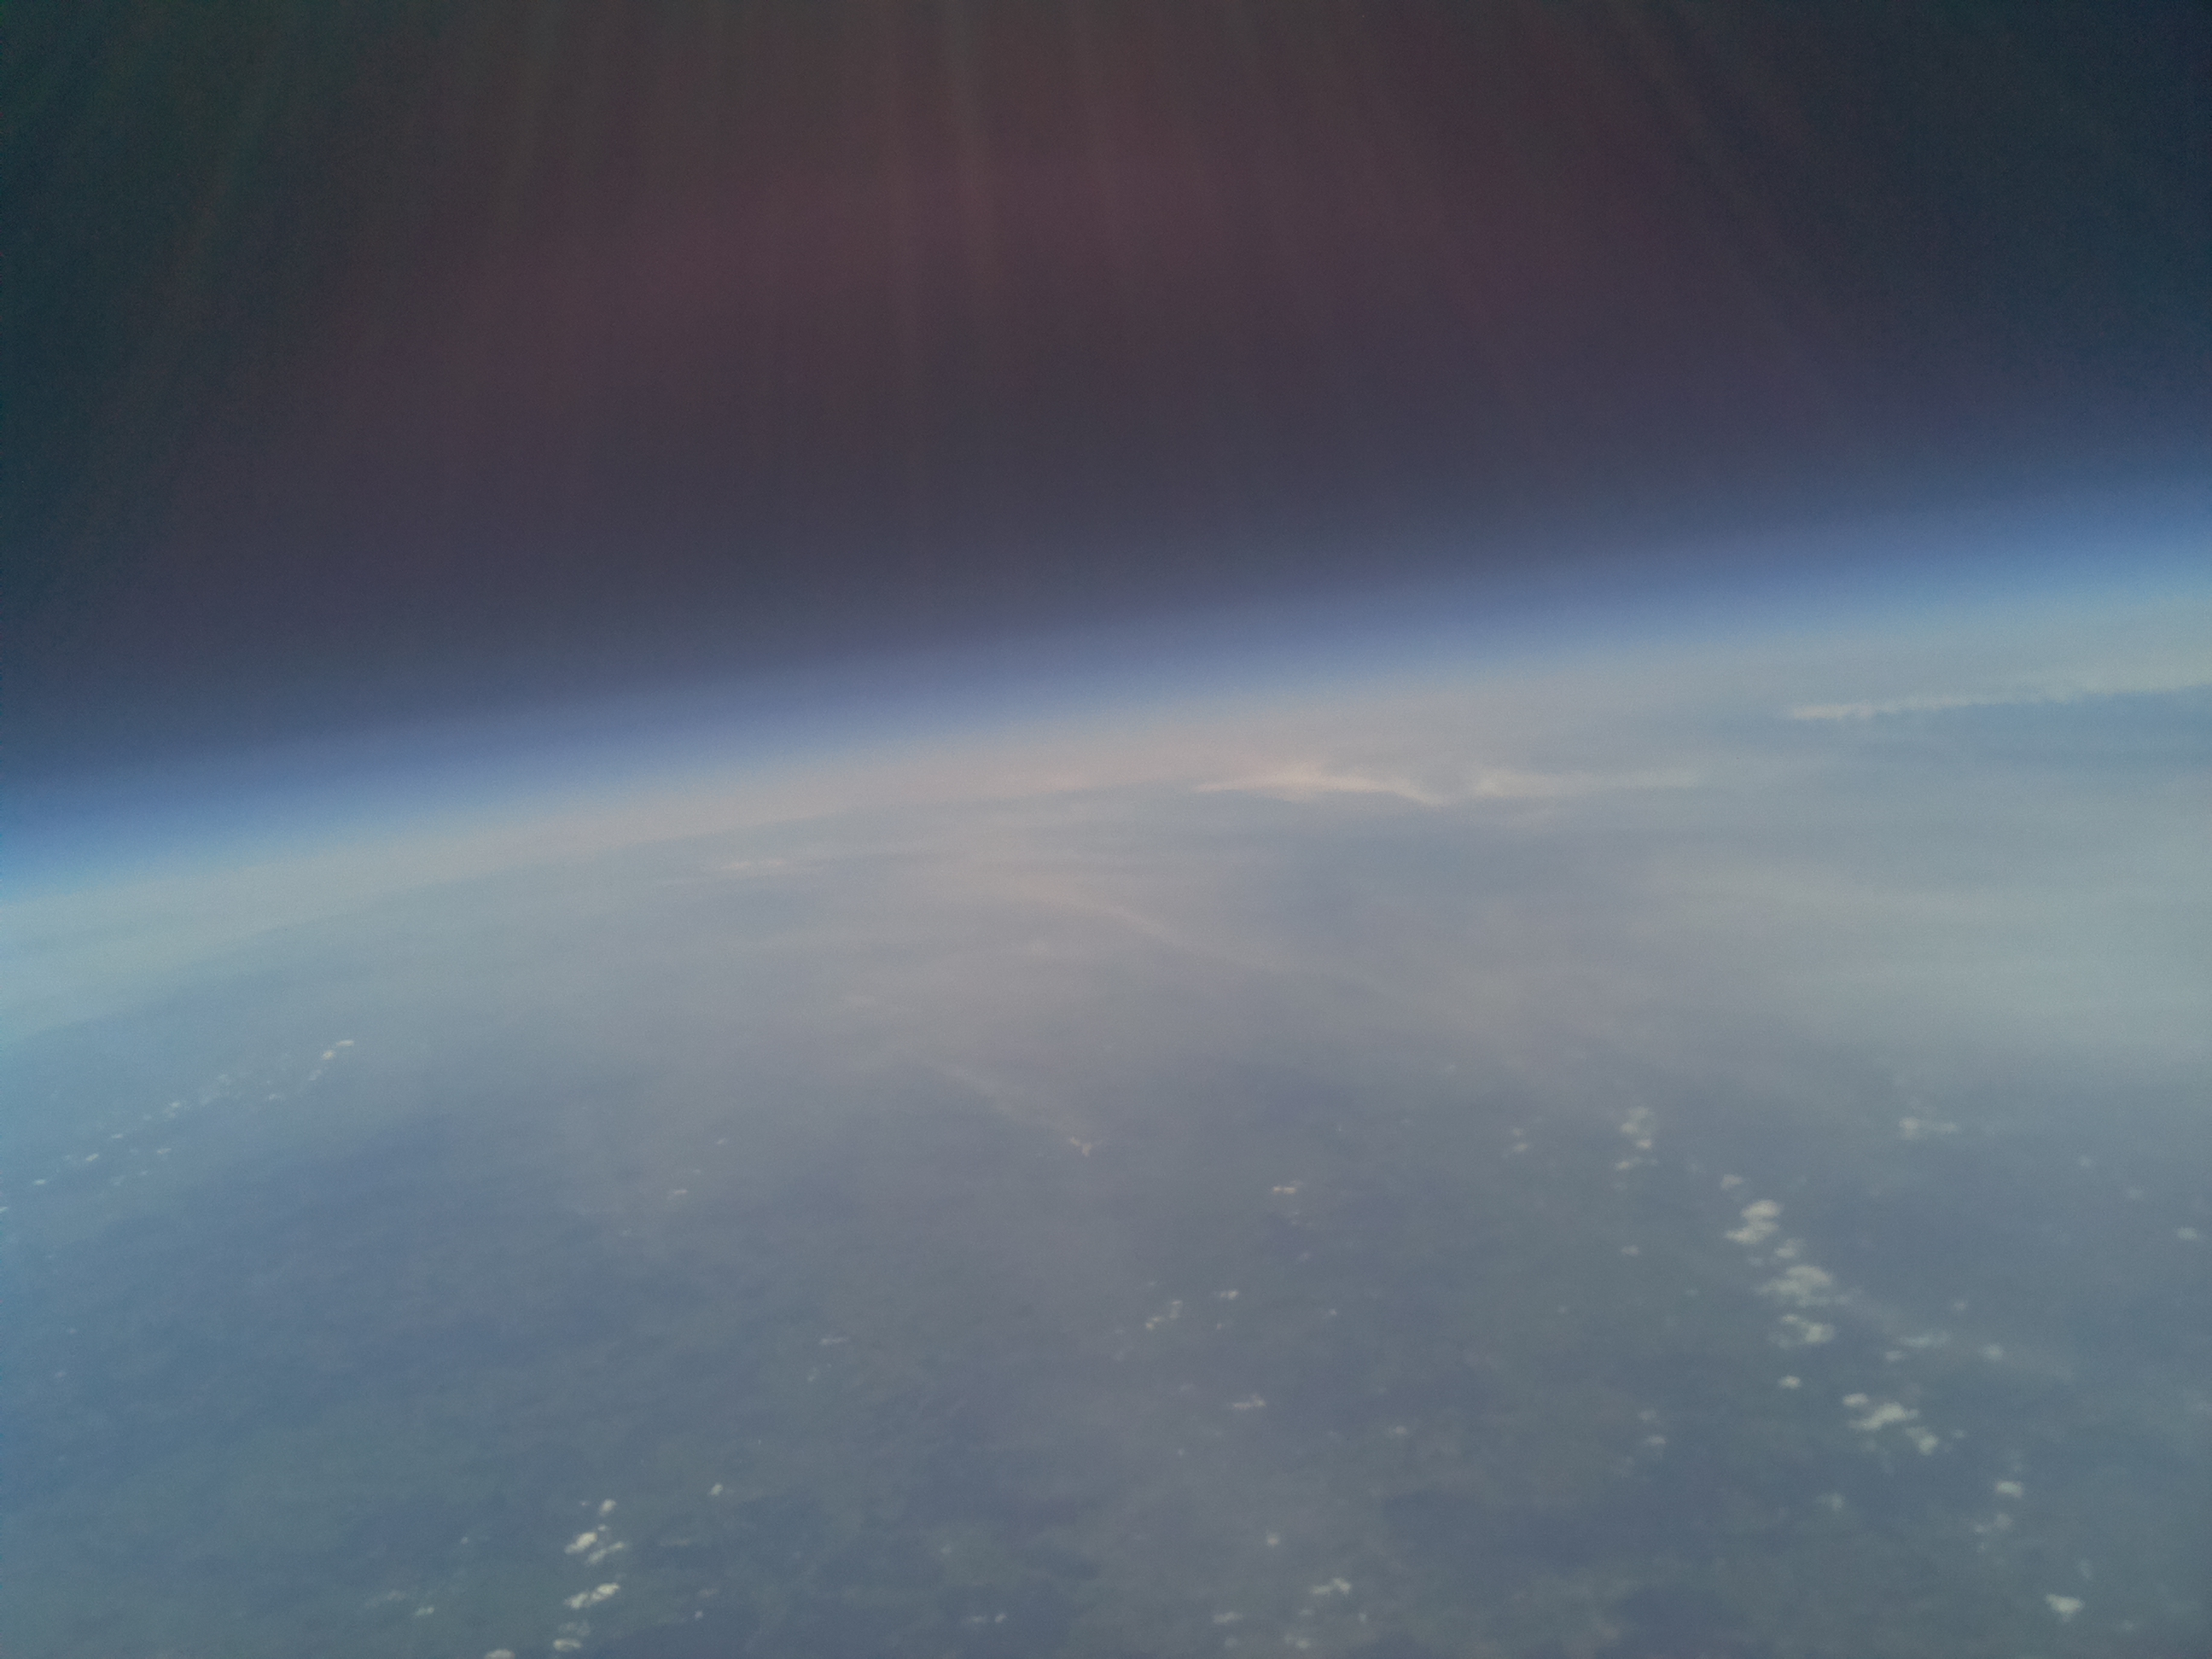
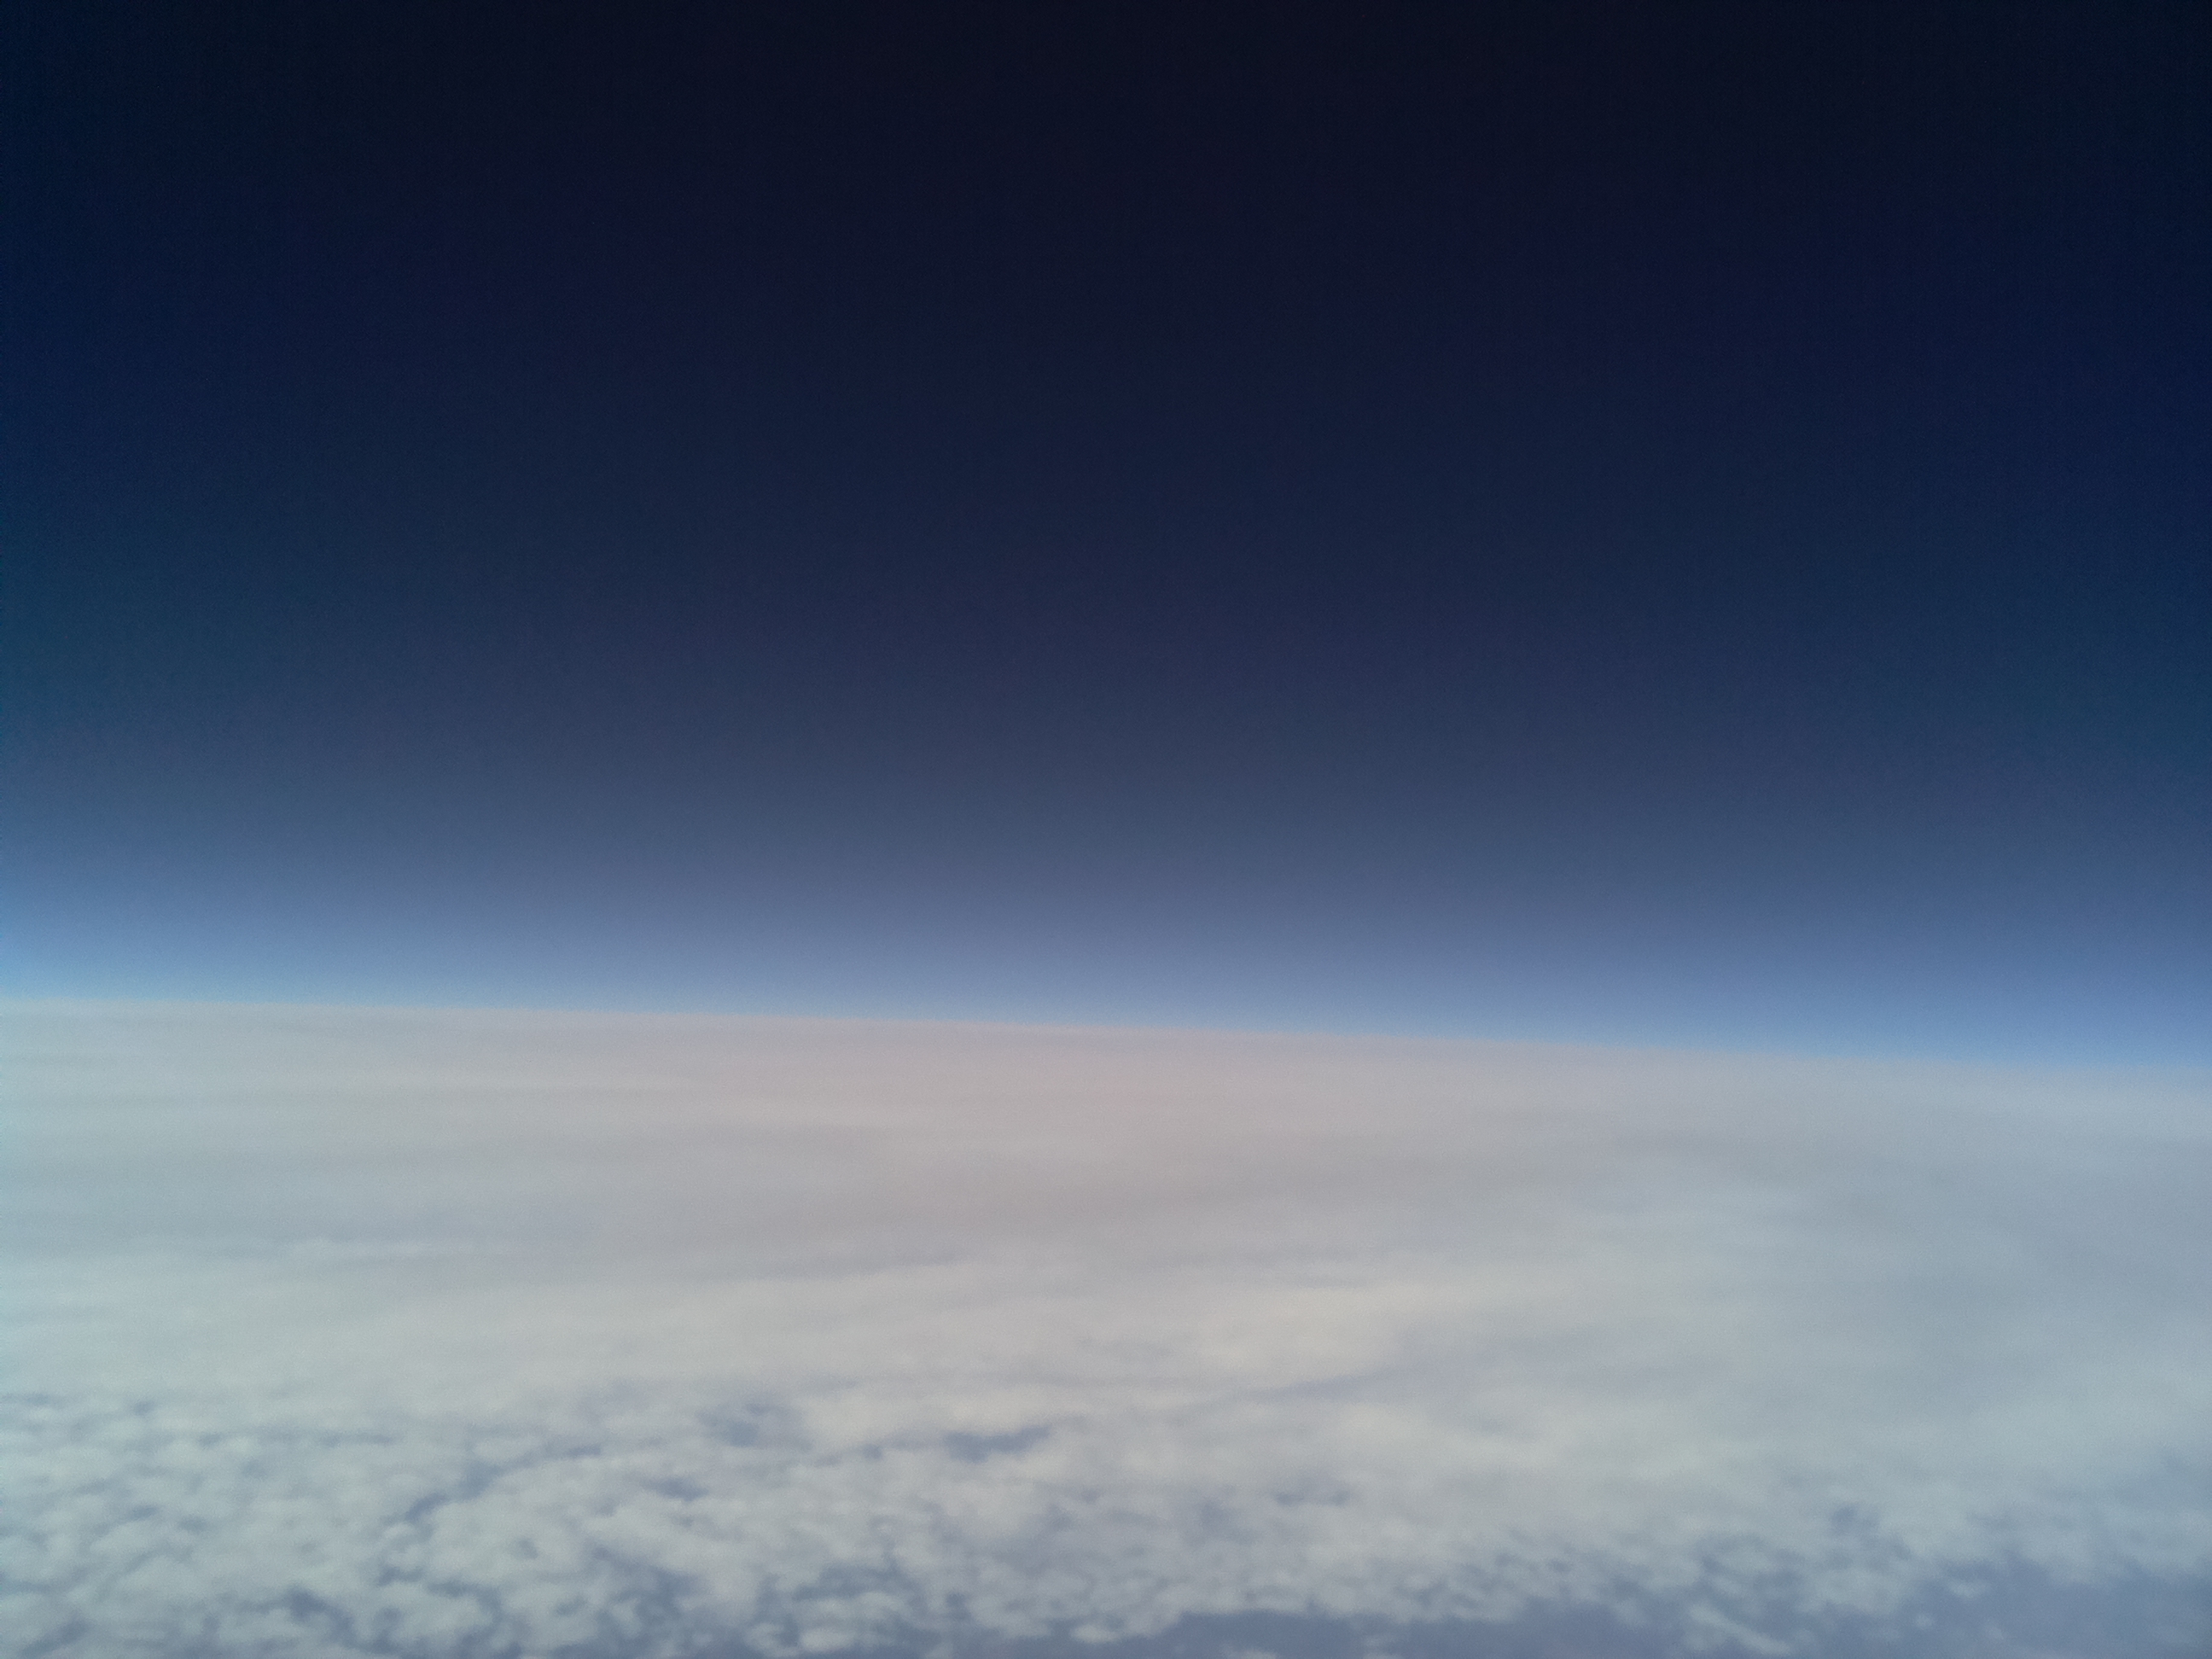
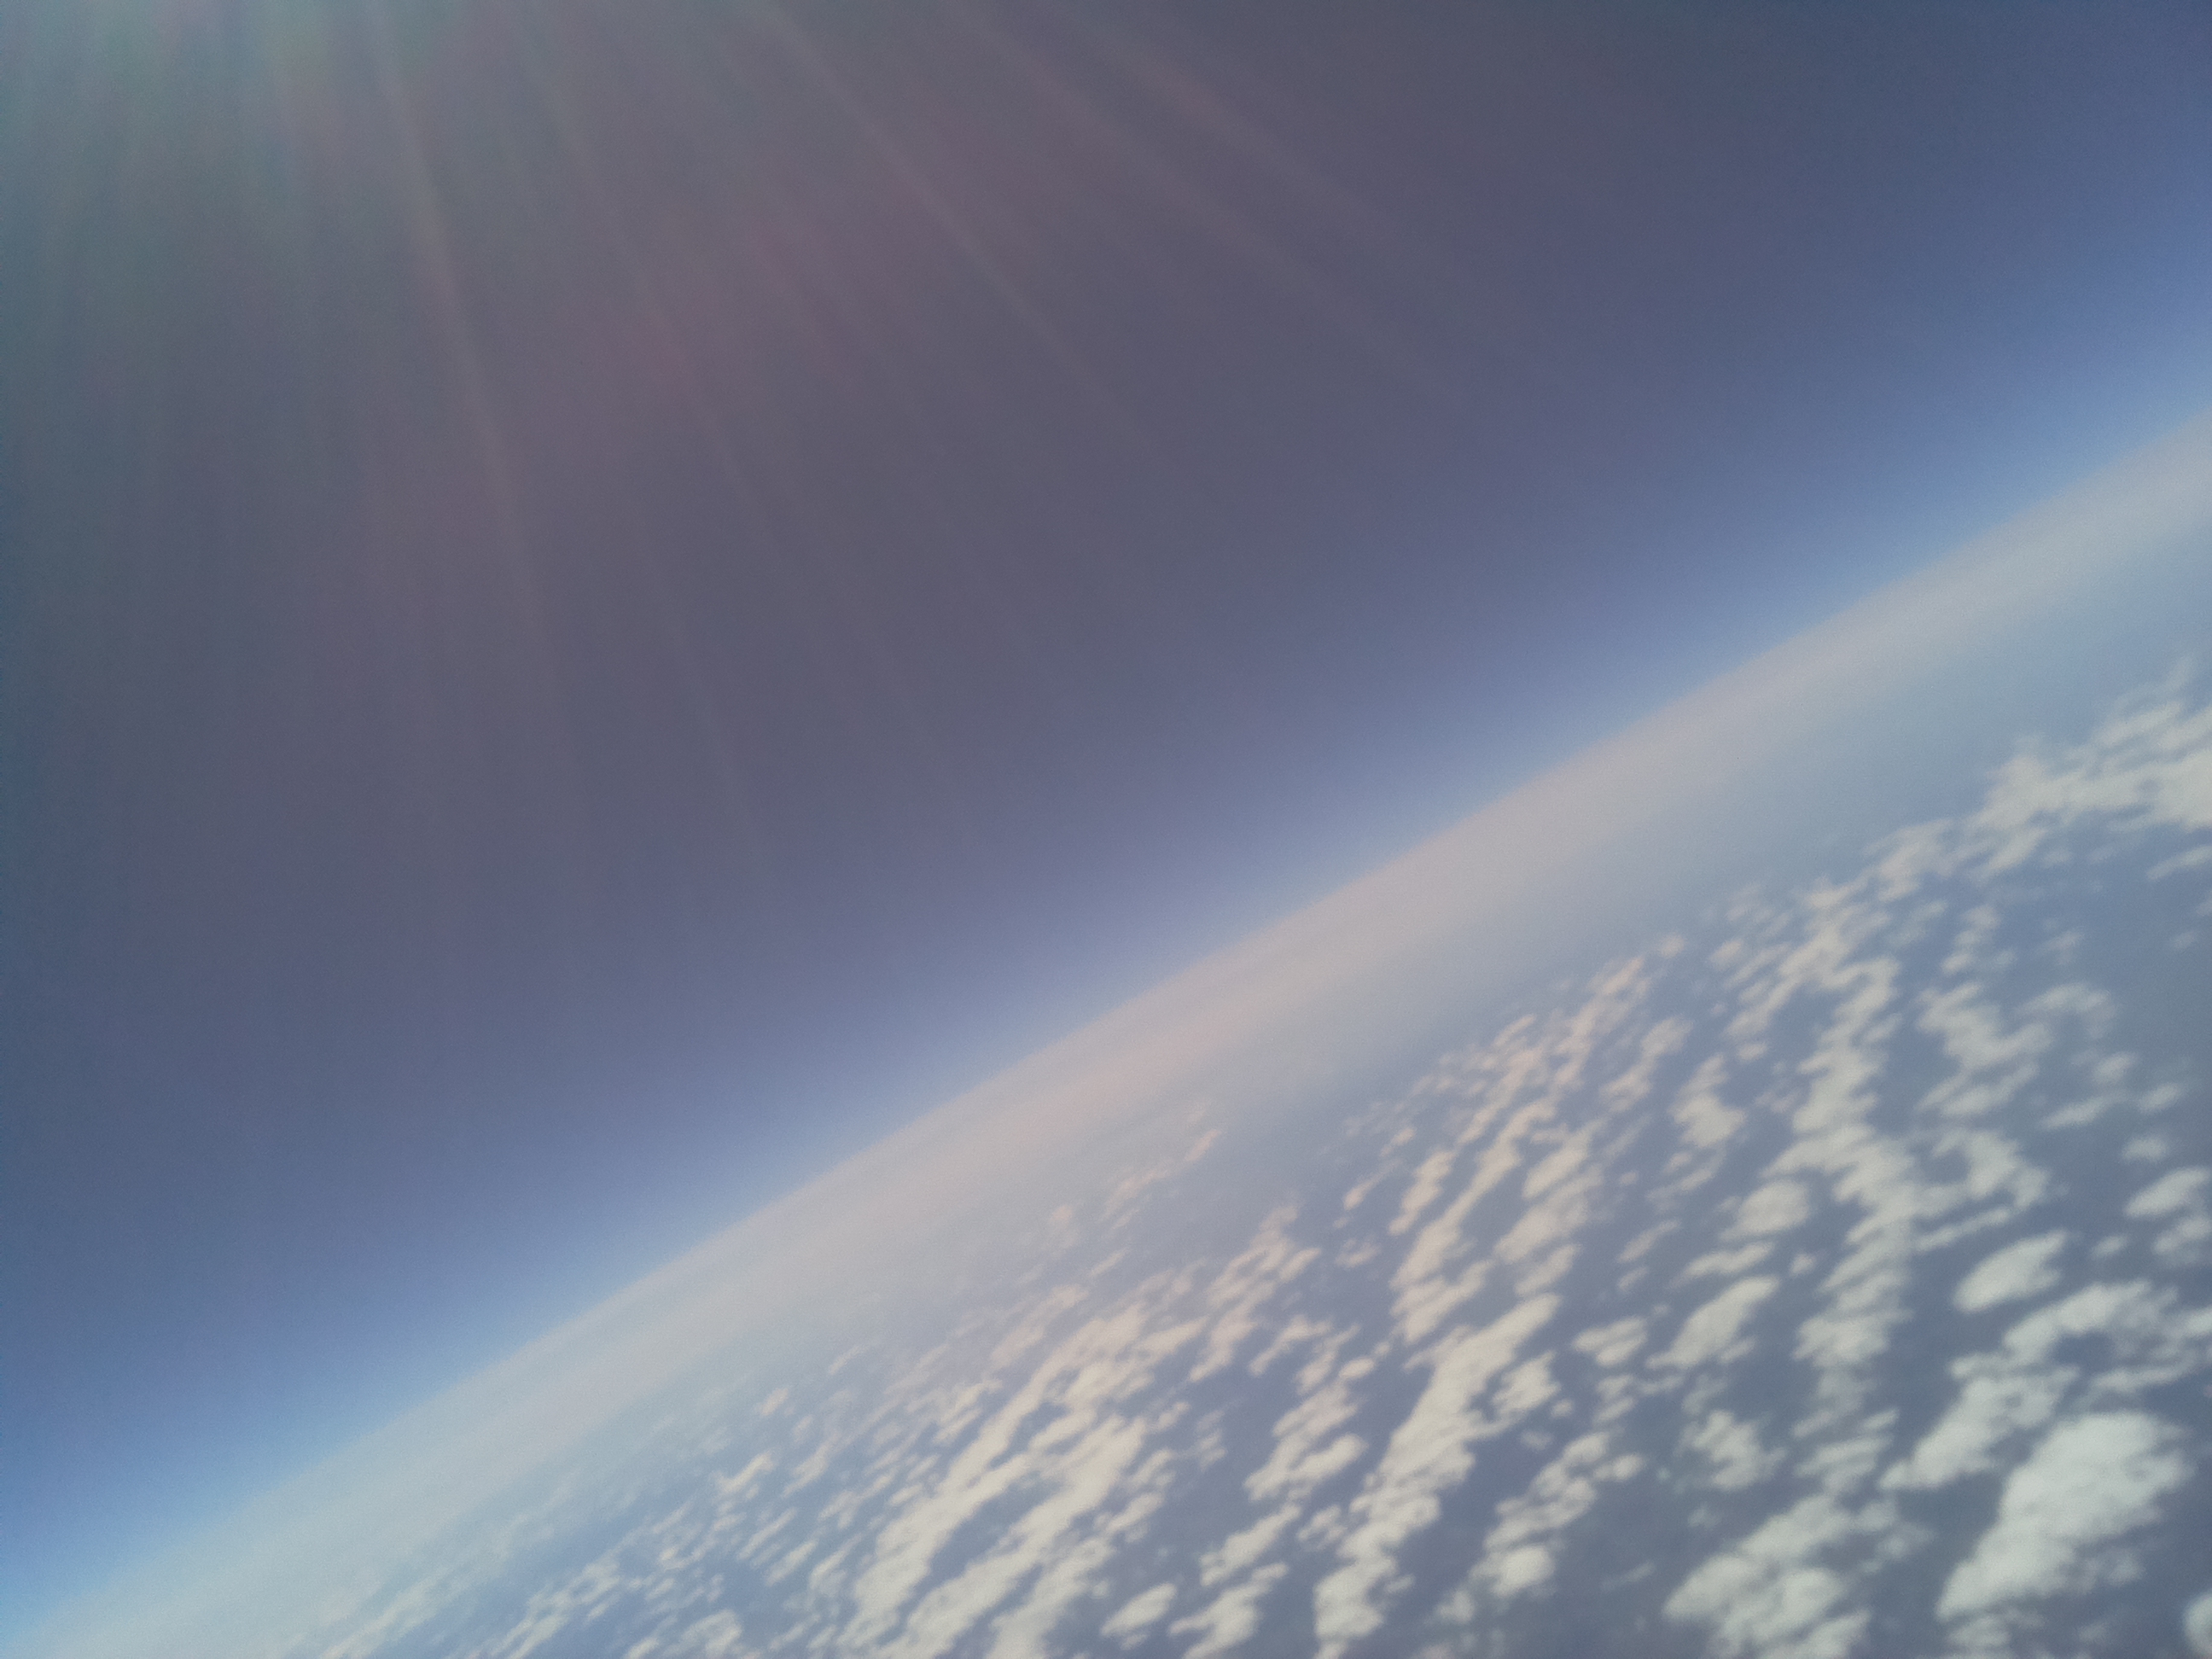
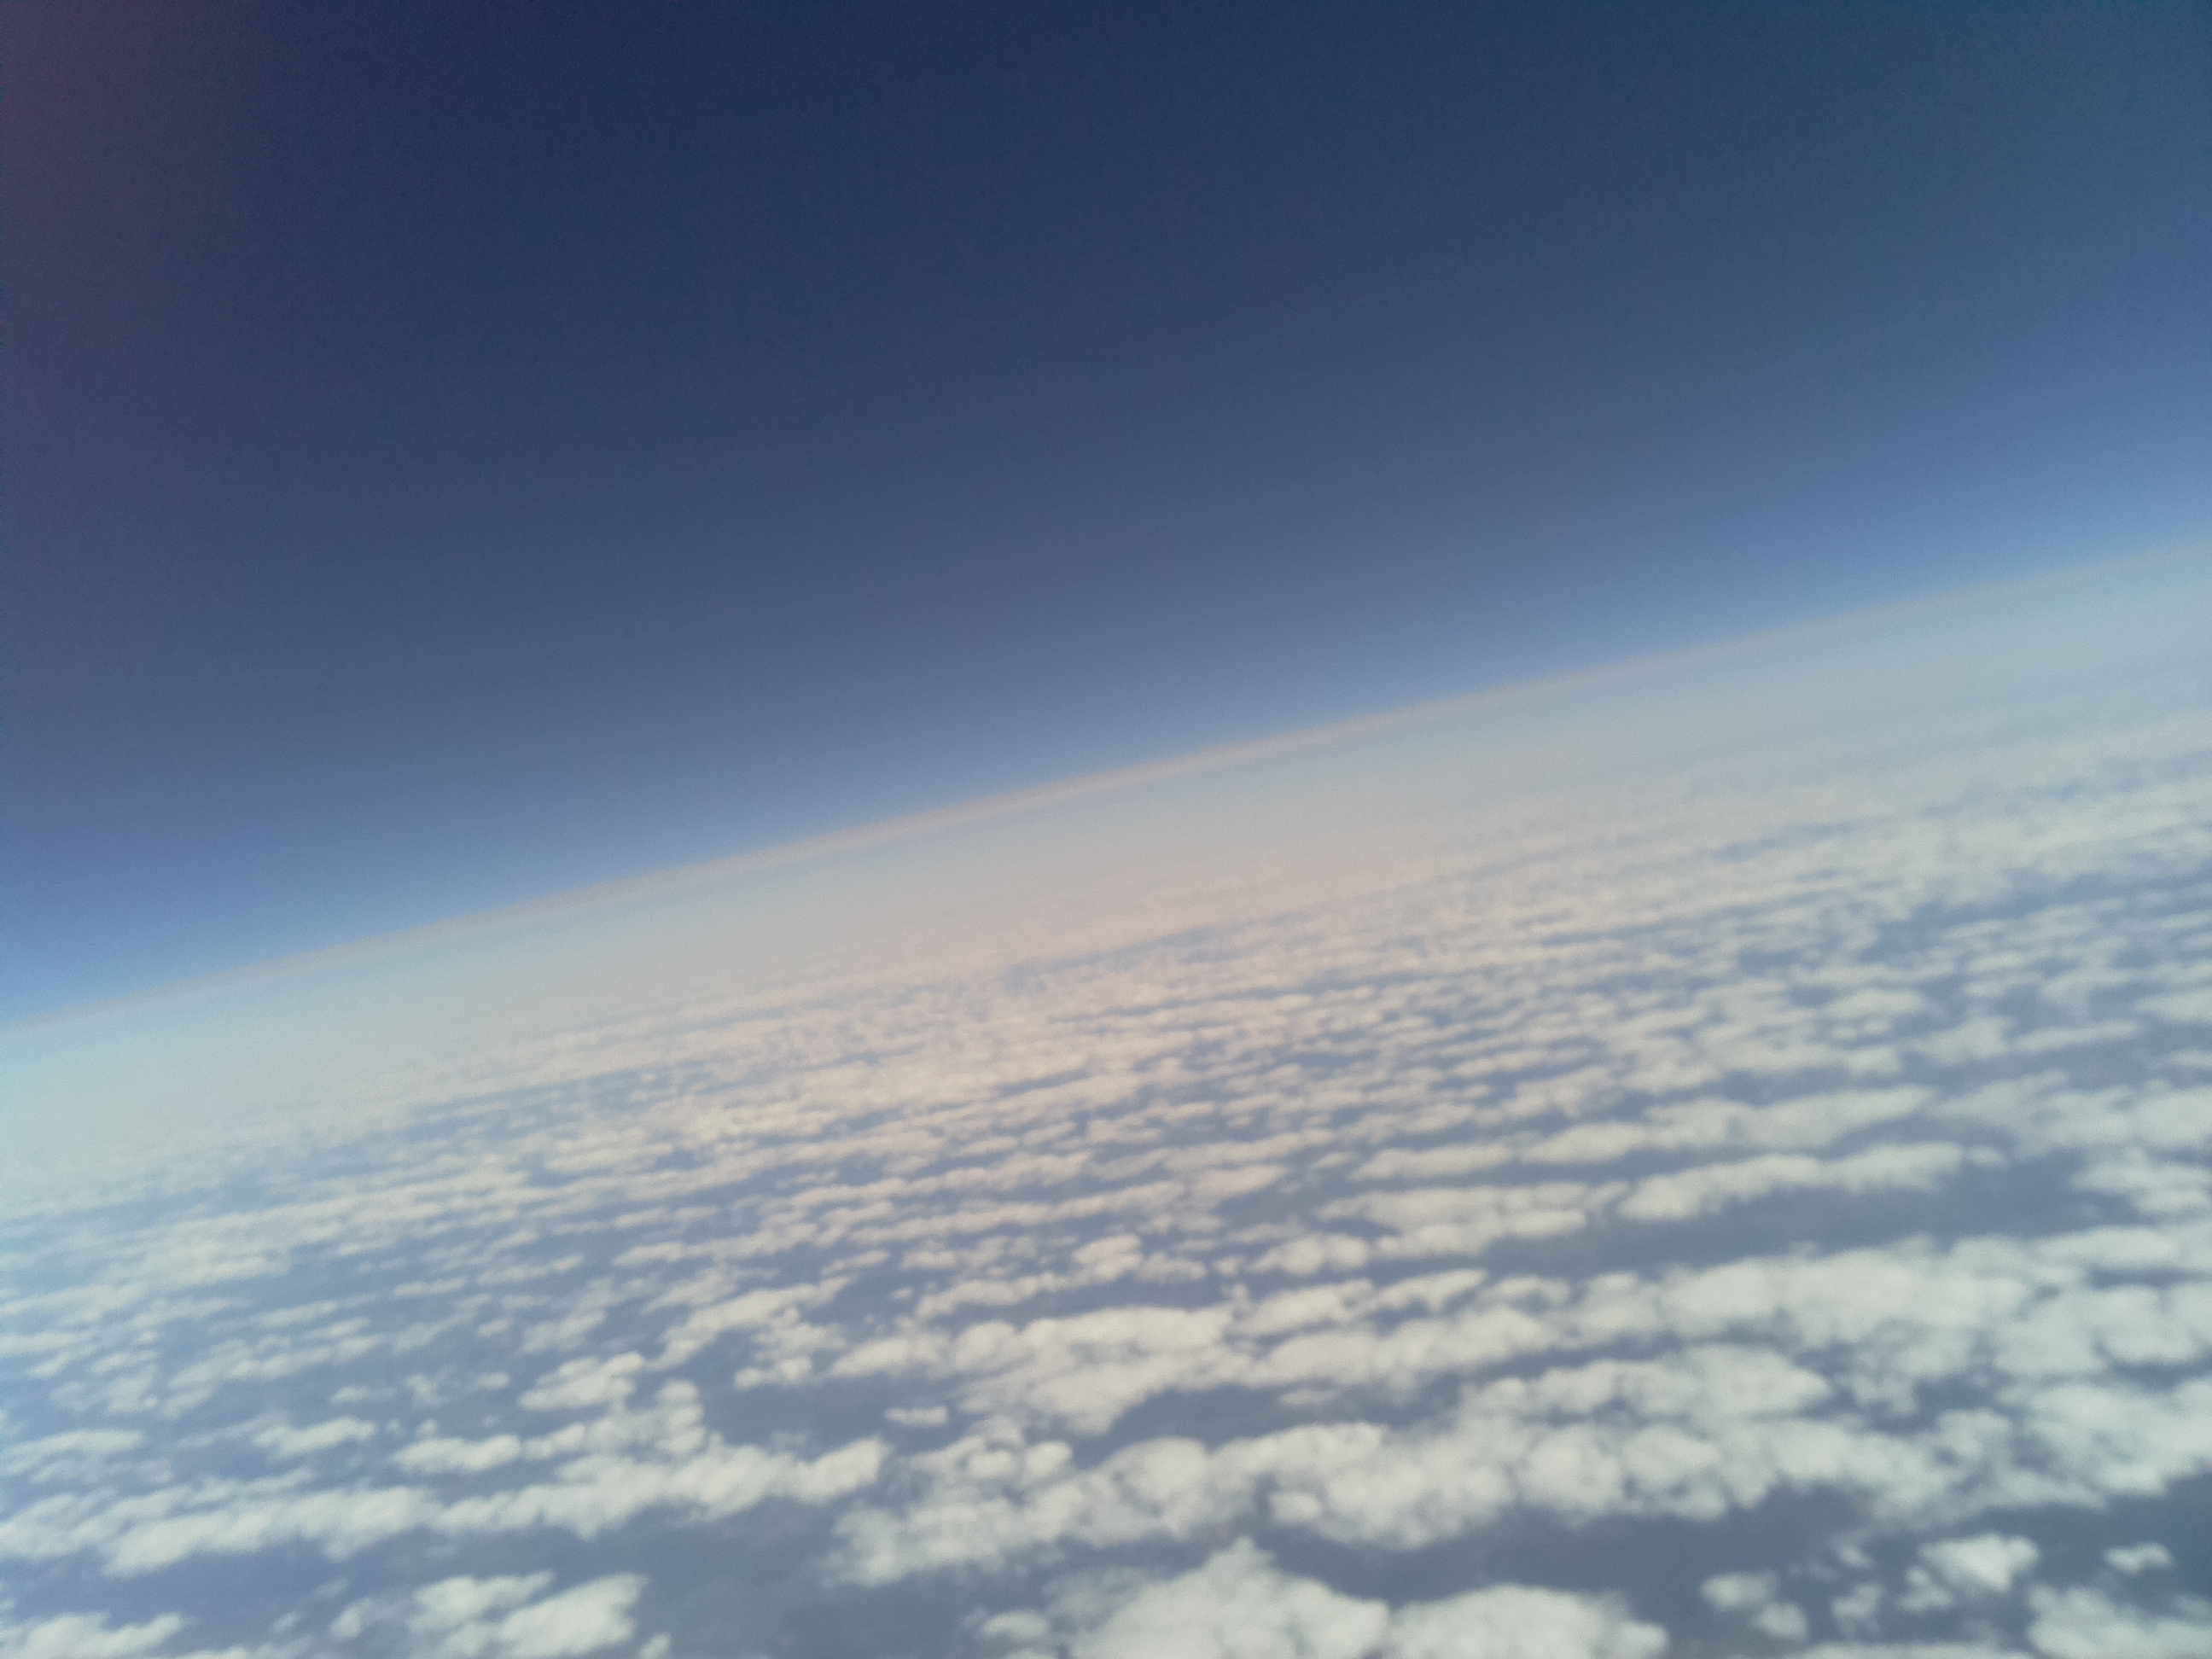
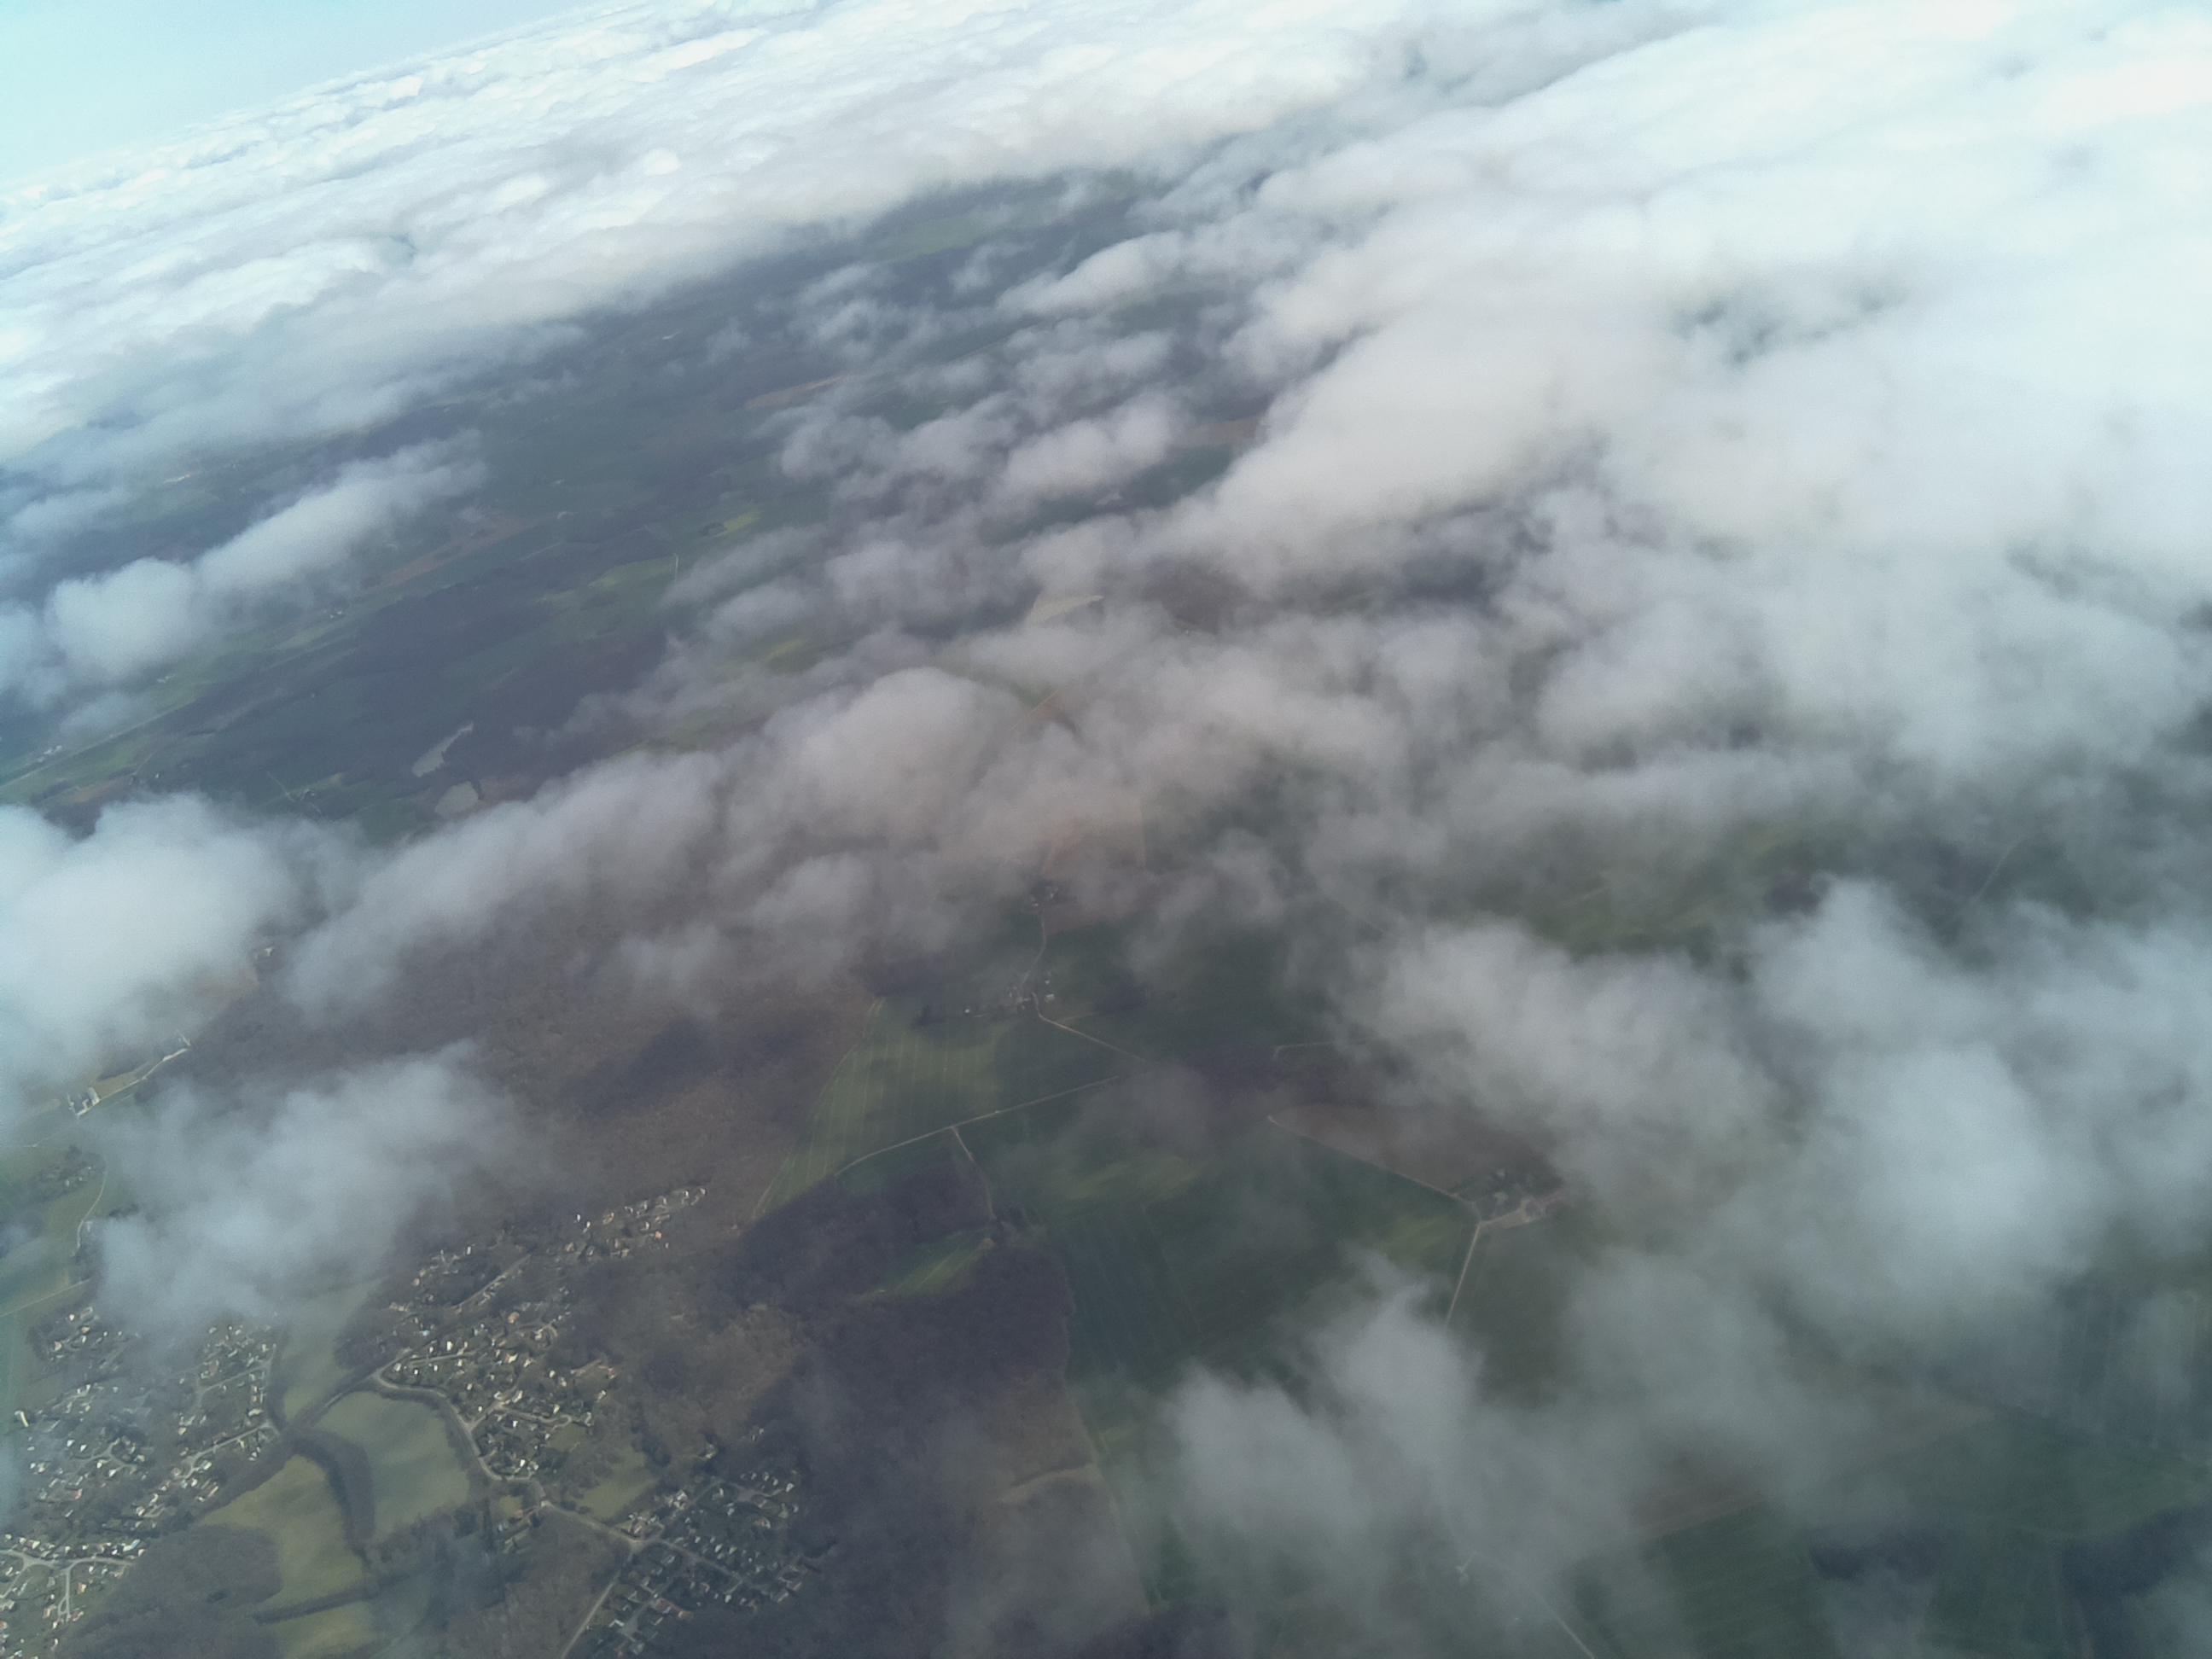
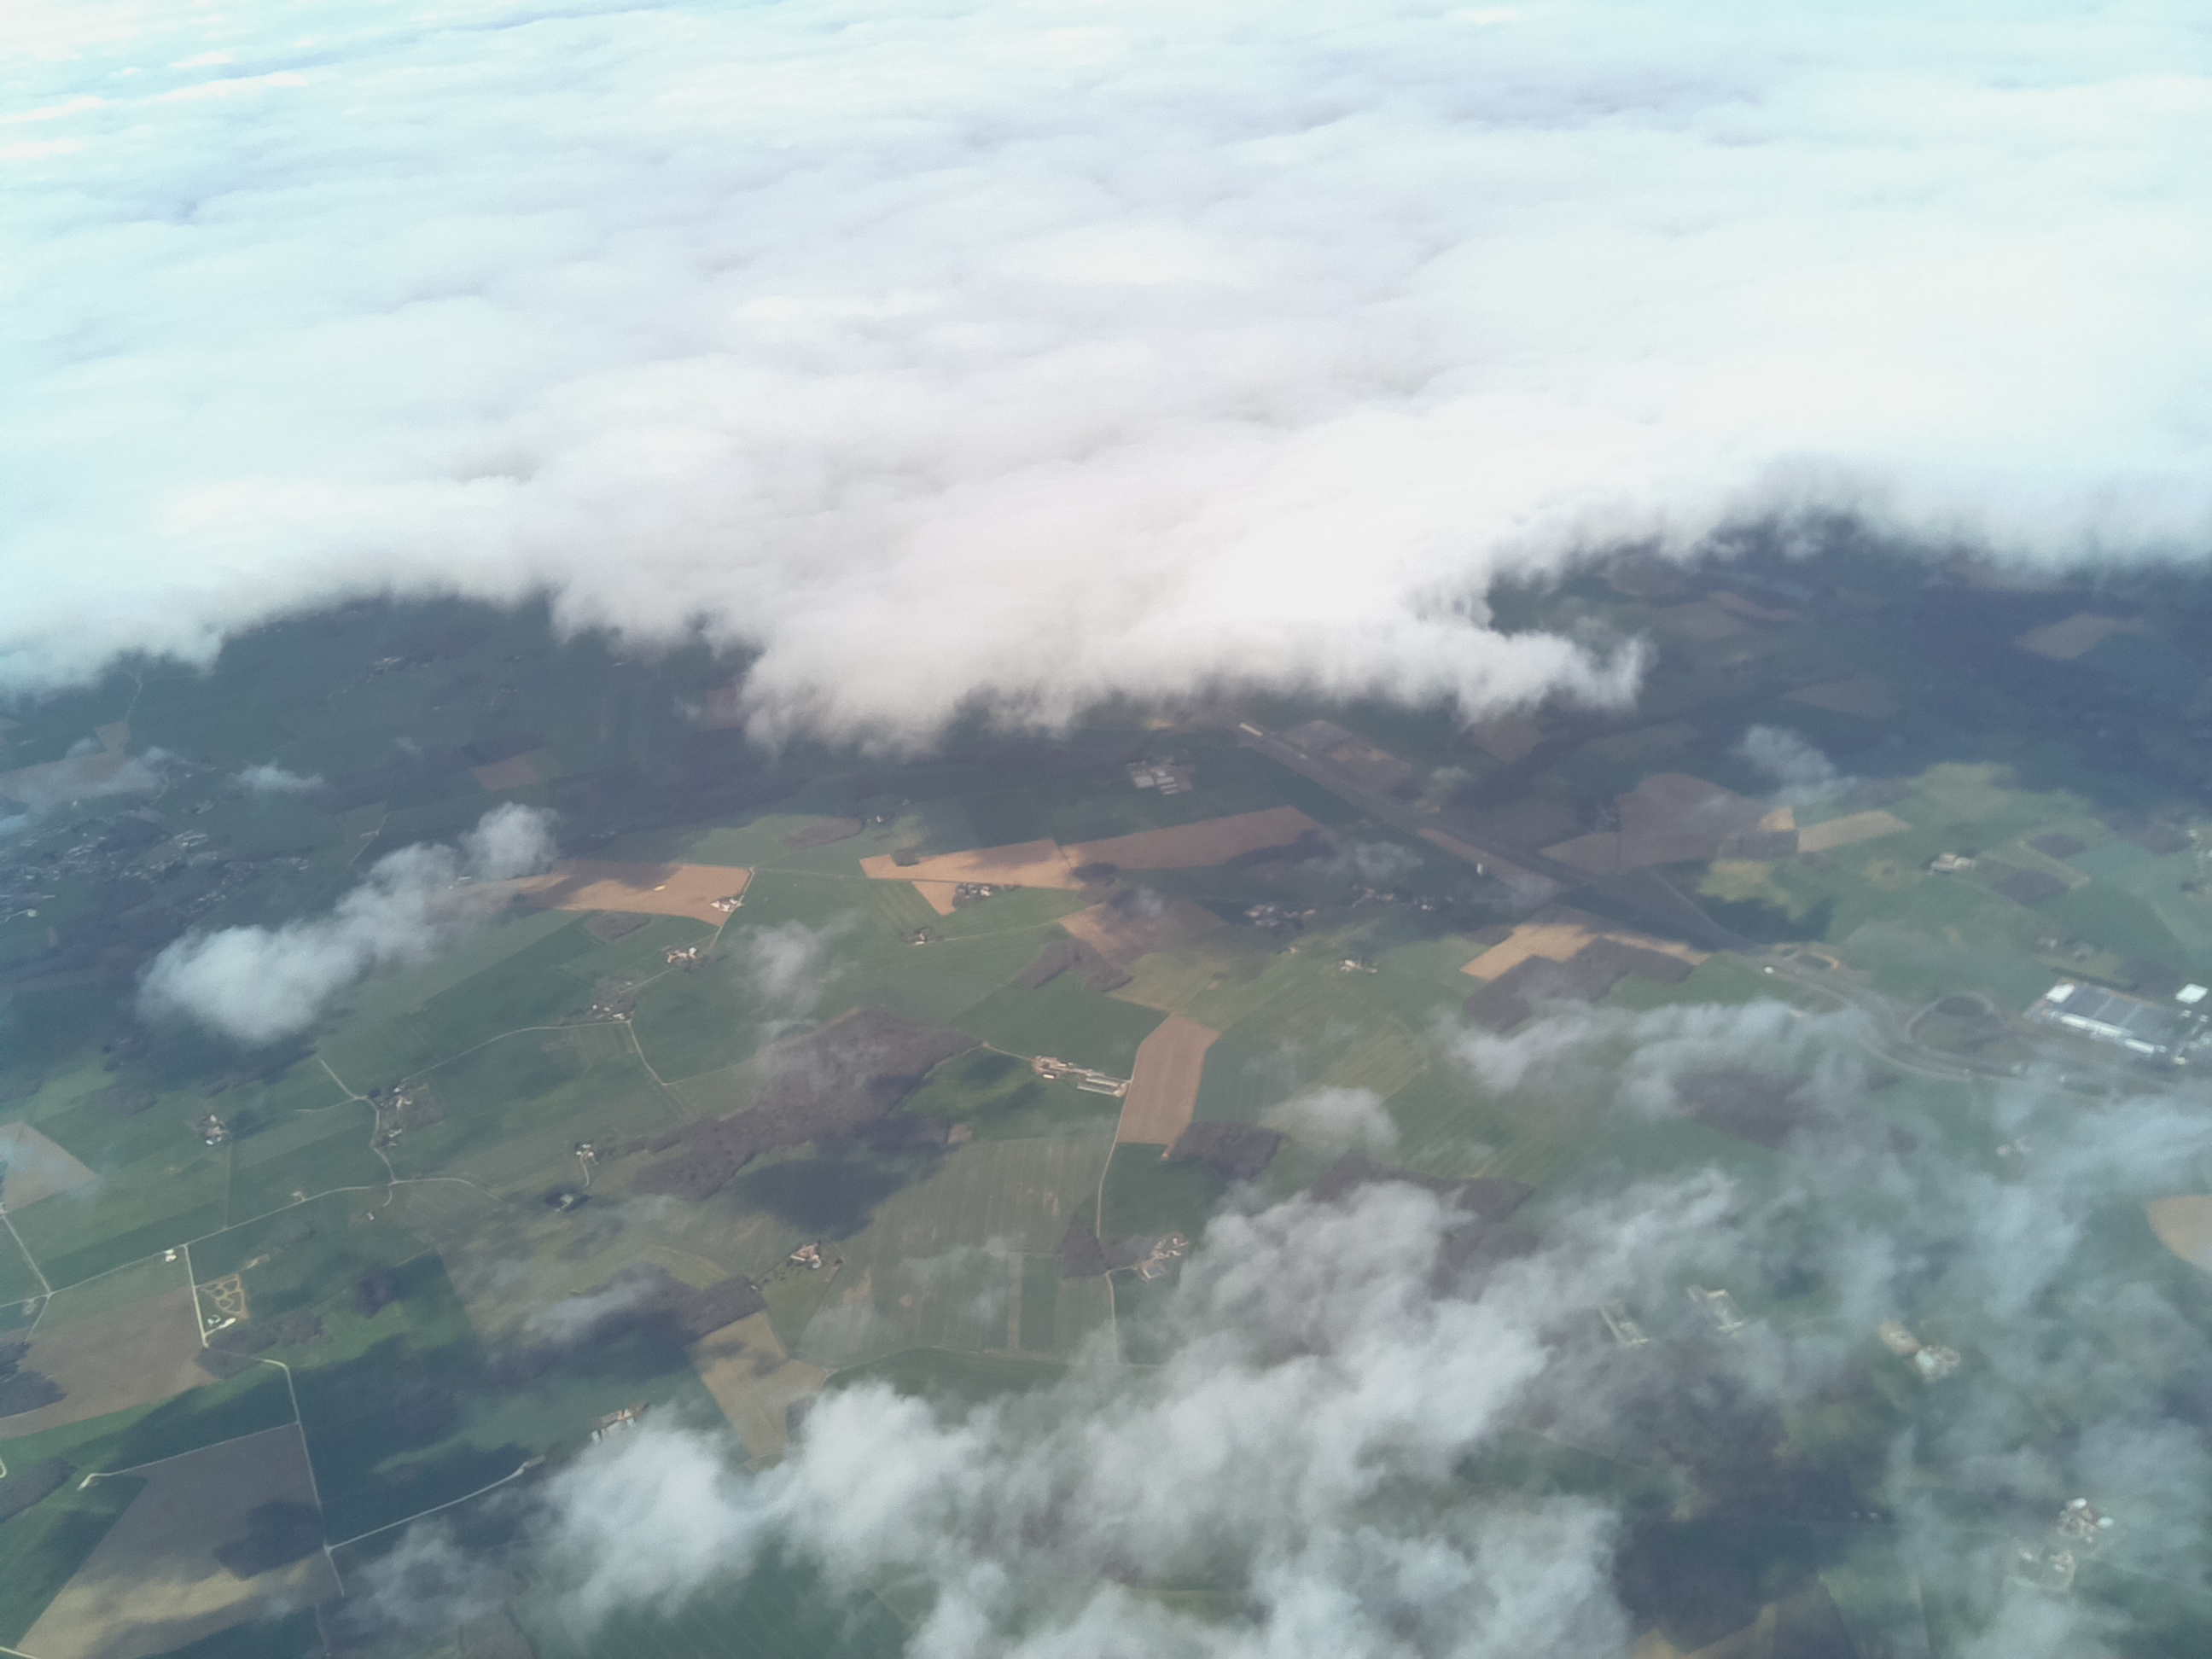
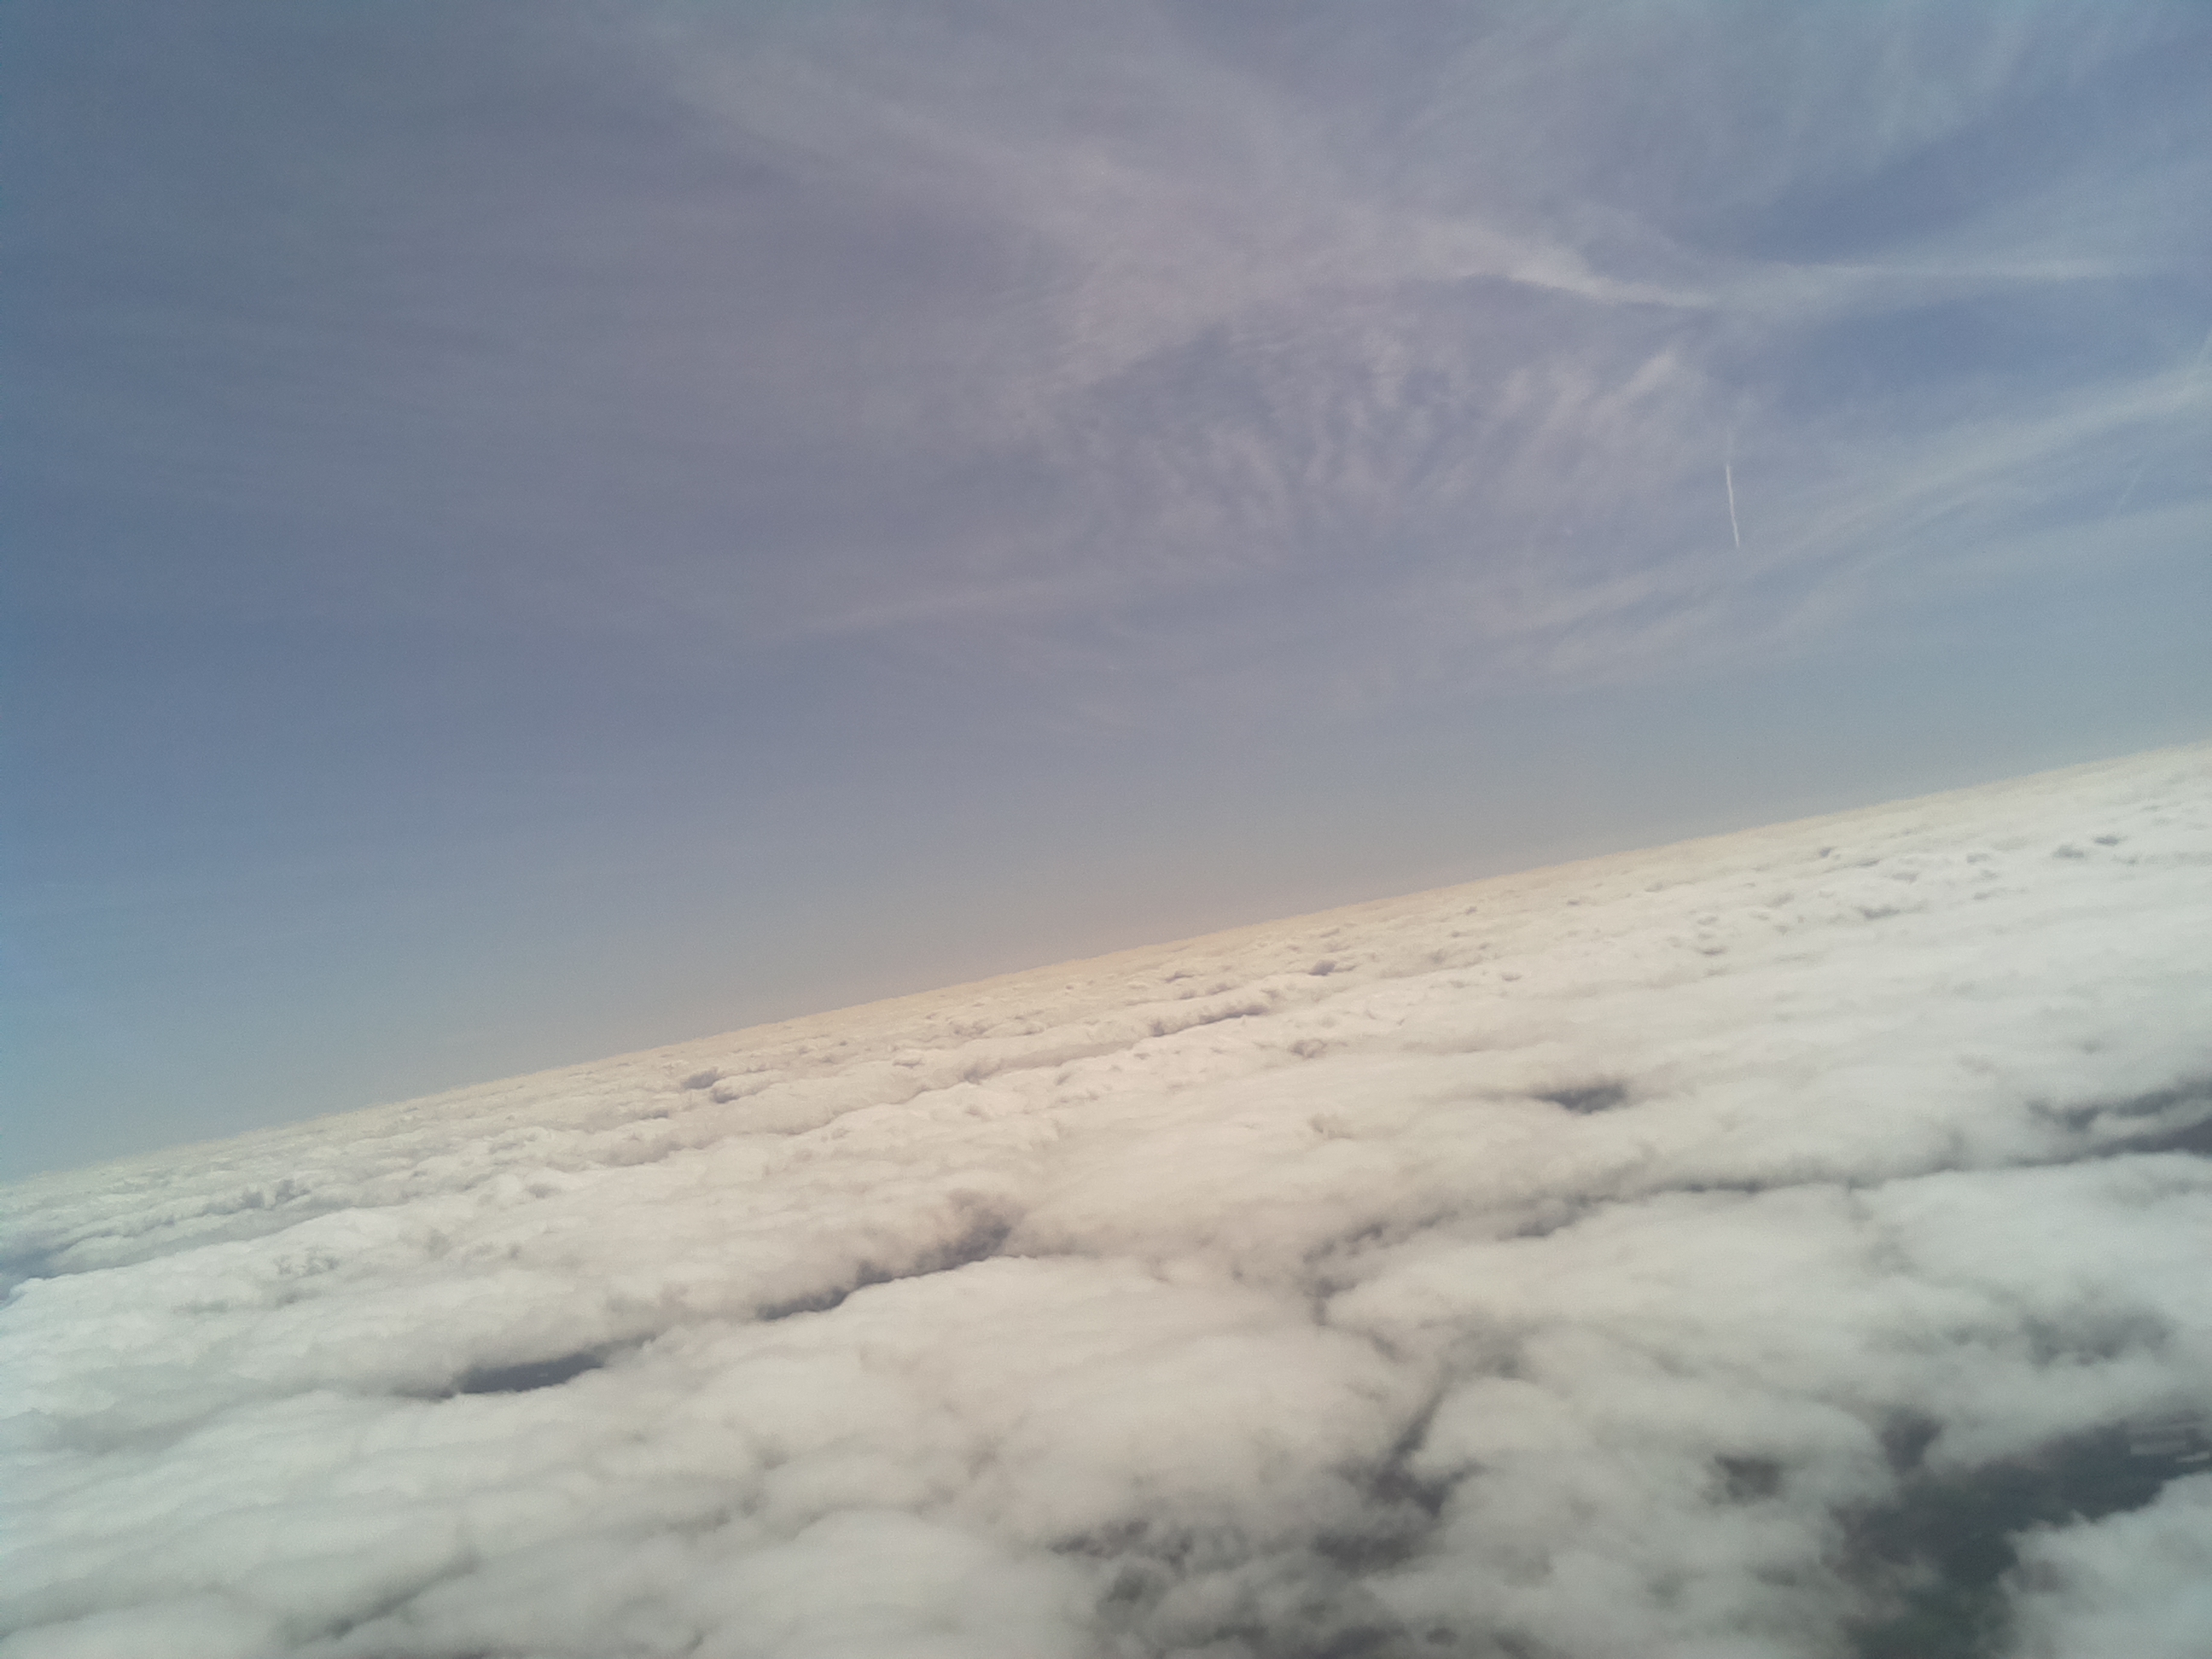
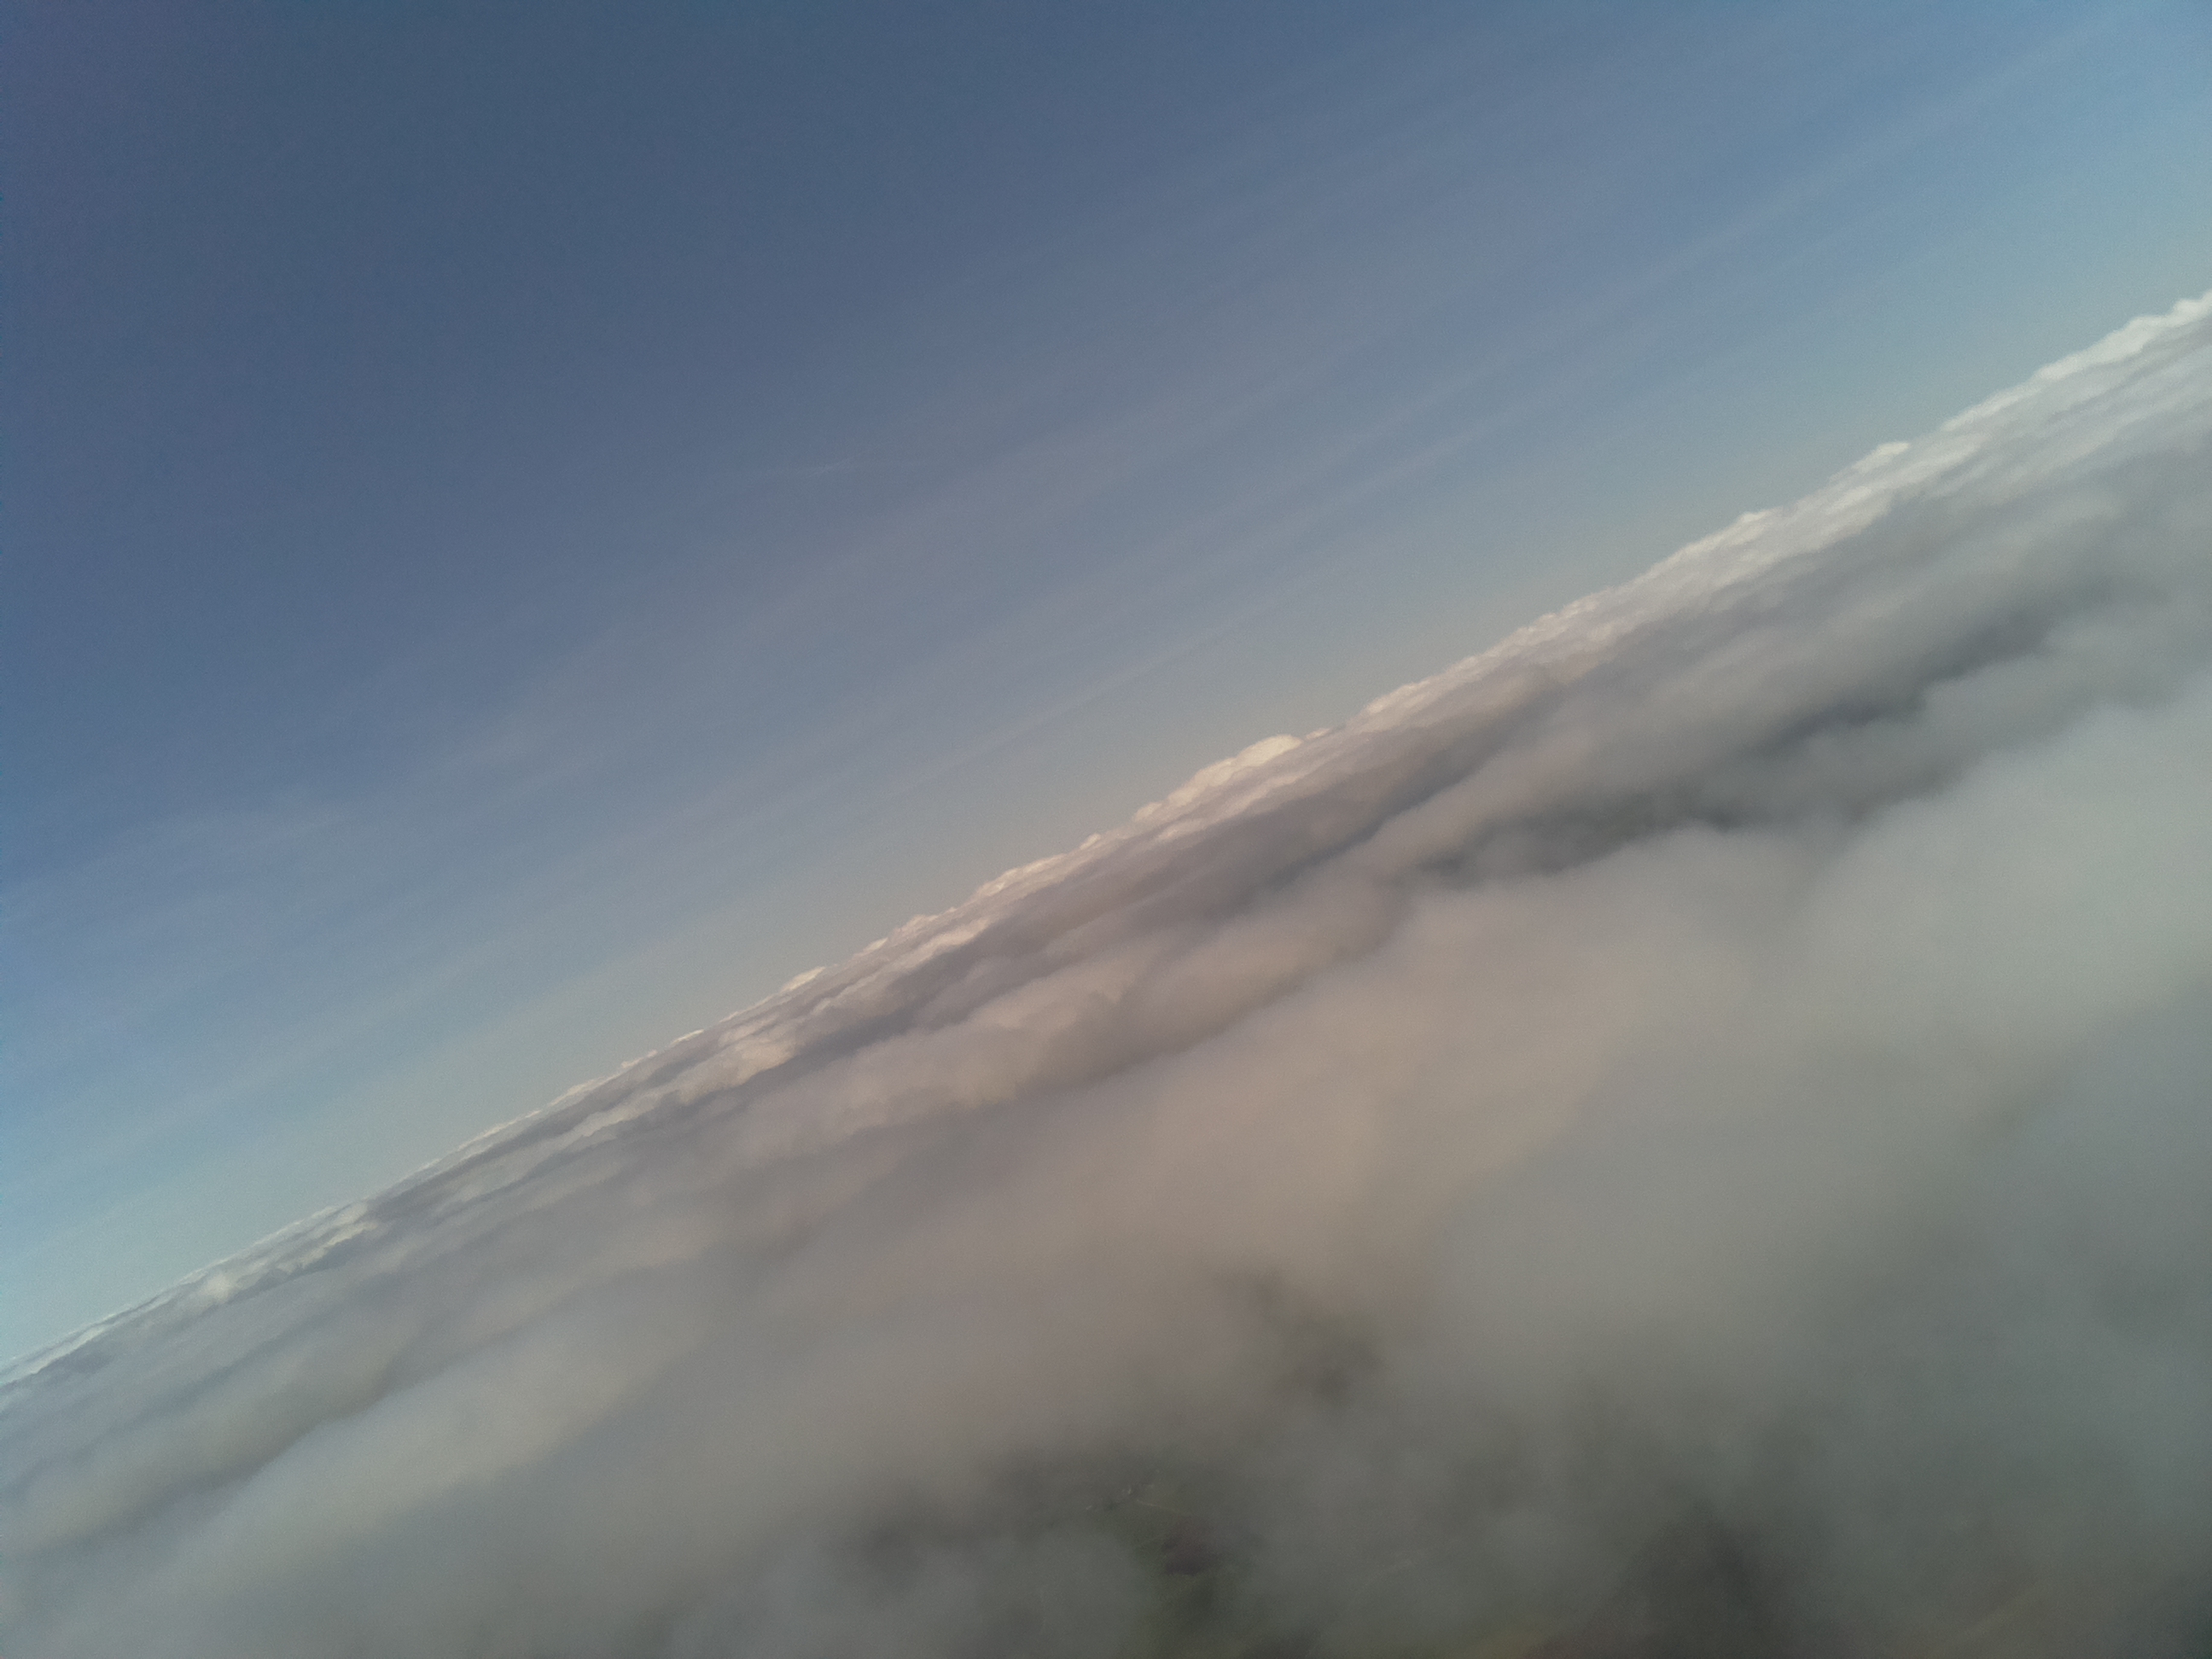
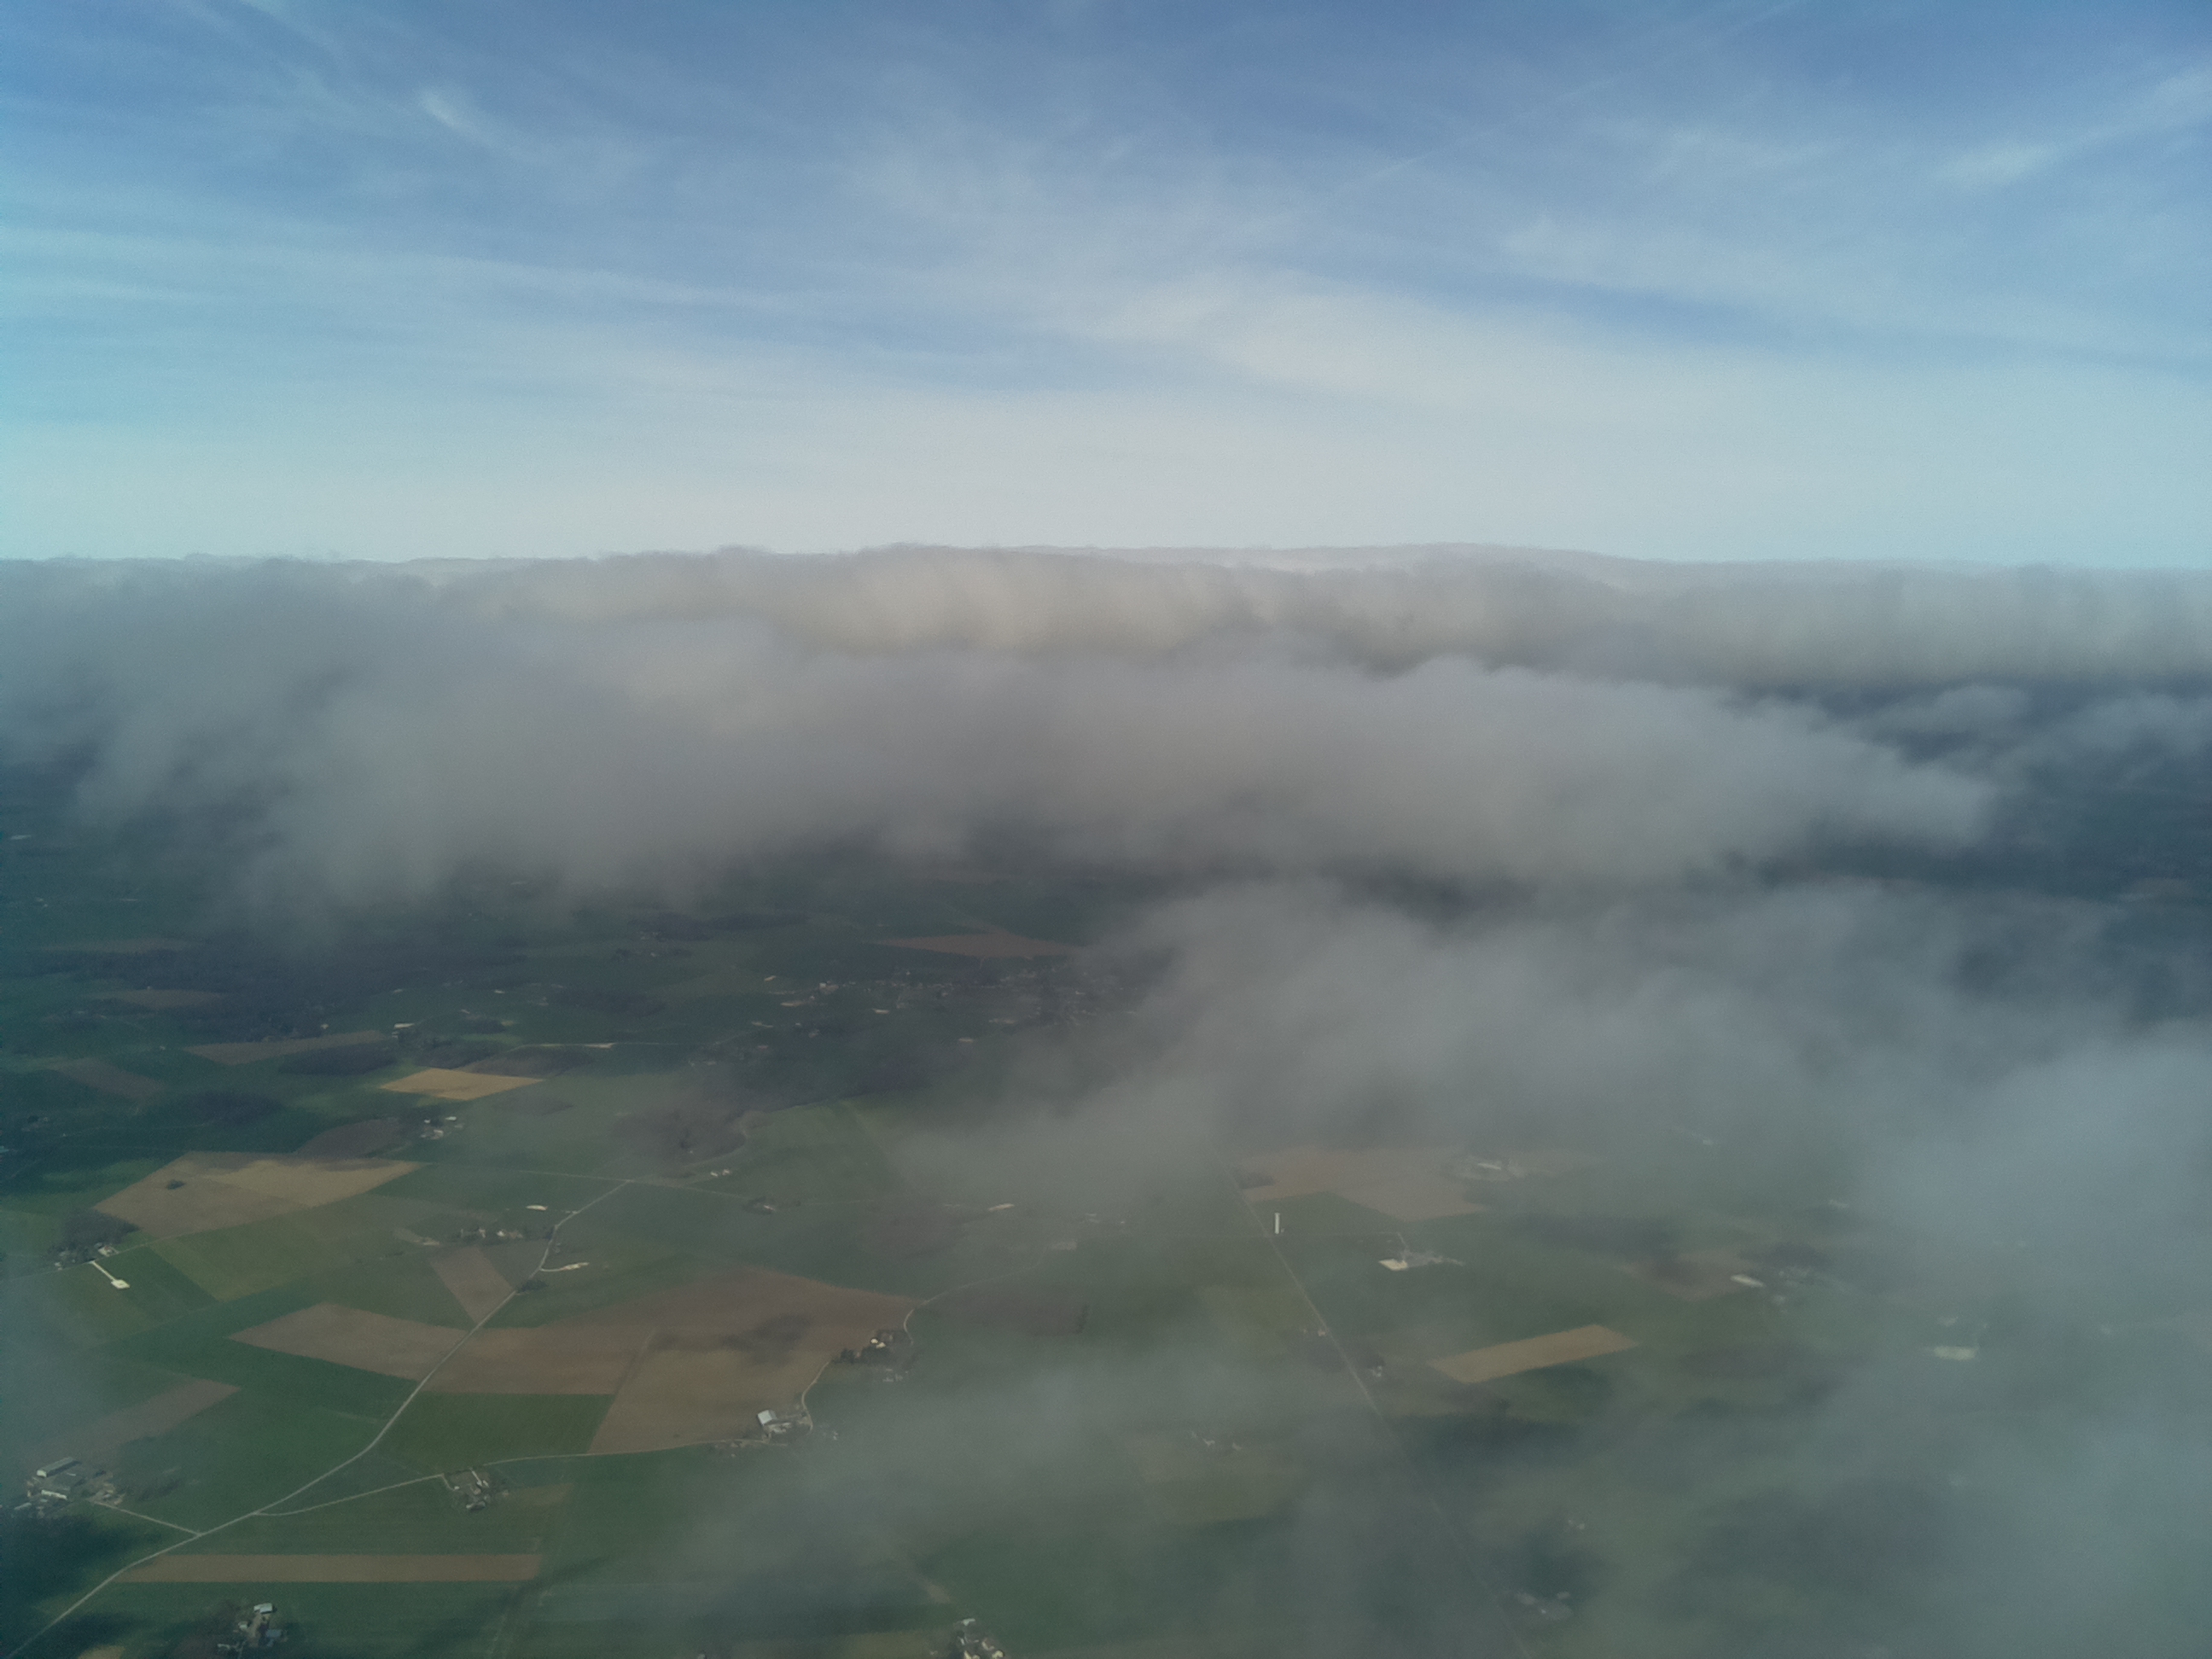
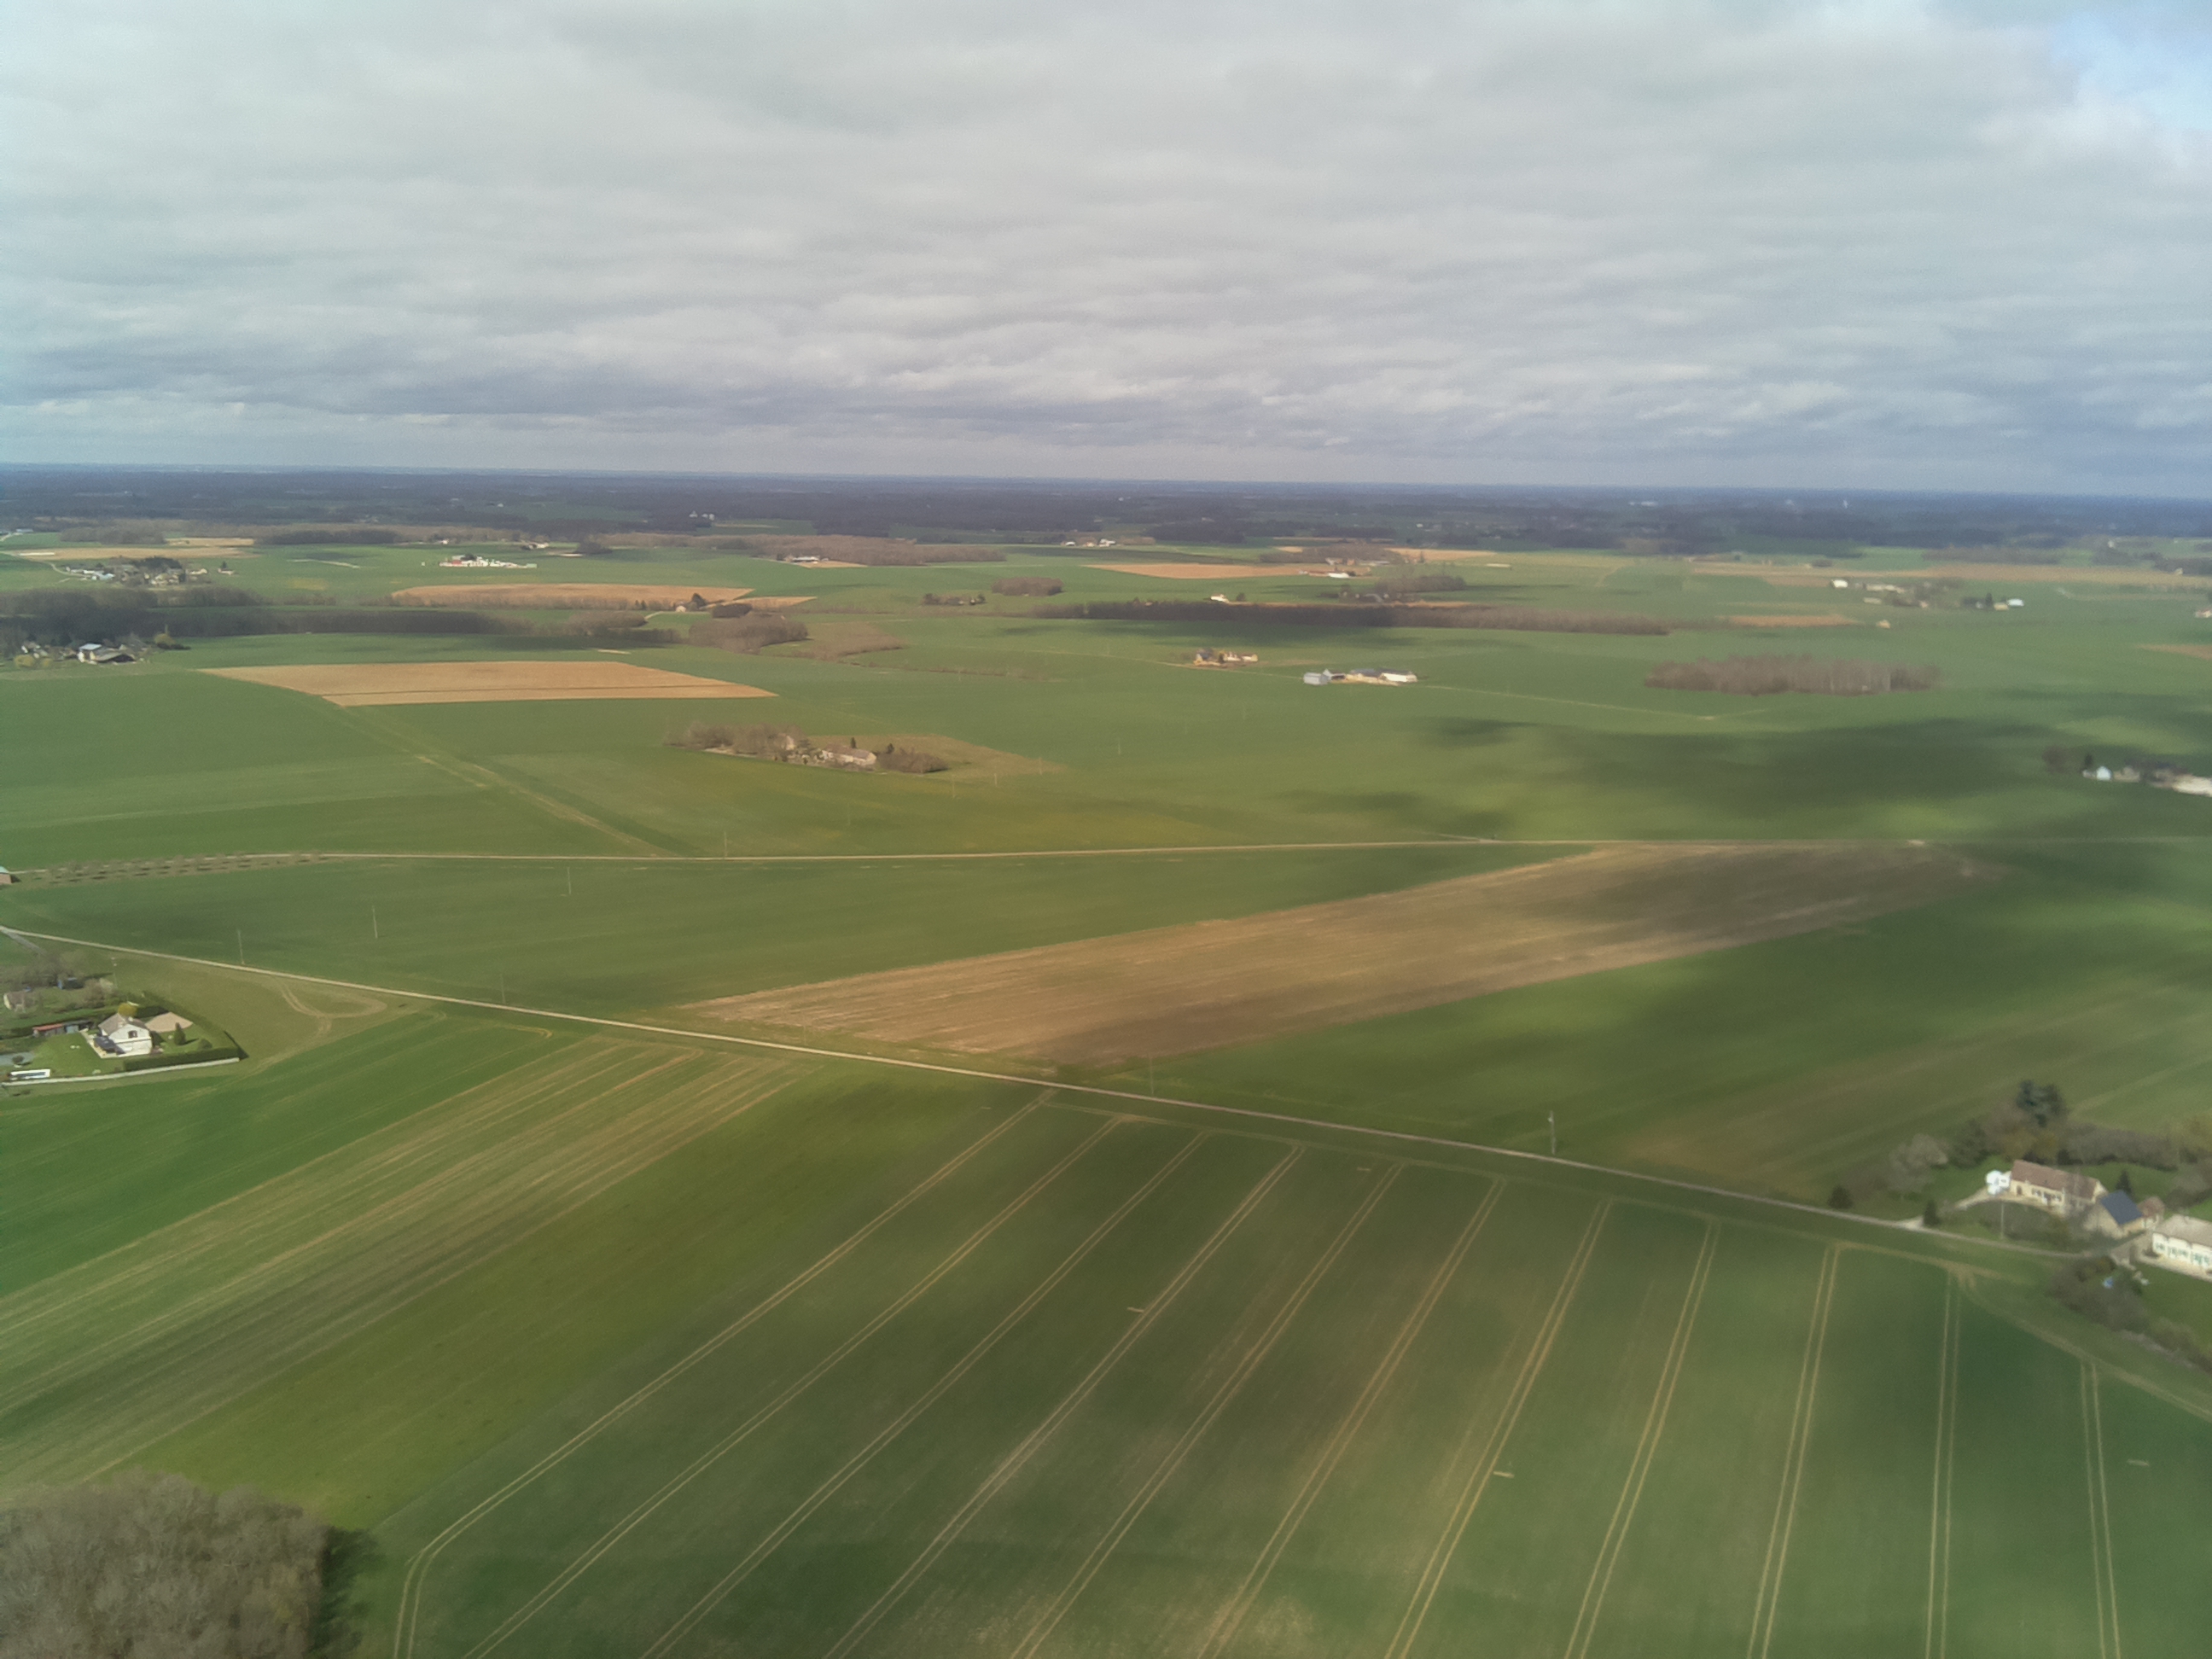
Finally here is a slideshow of some of pictures from the Pi camera:


More posts to come on what went into building the payload, test and learnings etc.
This launch was not done entirely by me. I stood on the shoulders of the giants at UKHAS. They were immensely helpful with their Wiki and being available on the IRC channel. I was also helped immensely by Yannick, who did the first amateur launch in France and knew all about the regulations. His house was also the site of the launch! Without Yannick looking over my shoulders, I would not have succeeded.